

Somodi kalács
Language: English / Hungarian / Romanian
While translating this document from hungarian i tried to look up the word kalács without success. In hungarian kalács is an entire group of sweet foods. Some words that have similar meanings in English are milk-loaf, and tommy. My mother calls it traditional cake from Torockó. My cousin calls it Hungarian Sweet Bread.
We are going to present the recipe for the somodi / somogyi / Torockói kalács. Just as one of its names says this cake is from the village Torockó (it's romanian name is Rimetea). It is located in Alba County, Romania. In the past it was a mining city, but nowadays it lives on tourism.
The taste of this cake, with cinnamon and raisins is especially unique. Anyone who eats some, will always remember the sweet taste of this kalács. The presented recipe is not necessarily identical to the original recipe from Torockó. The quantities are different, and in Torockó the cake is bigger and is cooked in a brick oven.
All the images can be magnified by clicking on them. The videos can be played by clicking on them, or
they can be downloaded by clicking on the icons.
Ingredients:
- 0.5++ kilogram high quality white flour (preferably the kind that is explicitly made for sweet breads)
(exactly 0.5kg of flour goes into the dough, but we'll use some more flour for other purposes, so it's best to be prepared to have more) - 2.5 deciliter (1 mug) milk
- 2 teaspoons of powder yeast, or 3 dekagrams of fresh yeast
- 30 dekagram butter
- 30 dekagram sugar
- cinnamon powder
- raisins, as many as you like, it's best if they are golden raisins
- 1 teaspoon of salt
- margarine or fat, to grease the cooking dish.
- 2 eggs
Tools:
- Cooking dish (preferably made of ceramic)
- Clean tablecloth, on which we are going to stretch the dough
- A desk with a large surface area, it's best if it's accessible from lots of different angles.
- Dishes, plates, mugs
- Optional: kneading machine
Preparations:
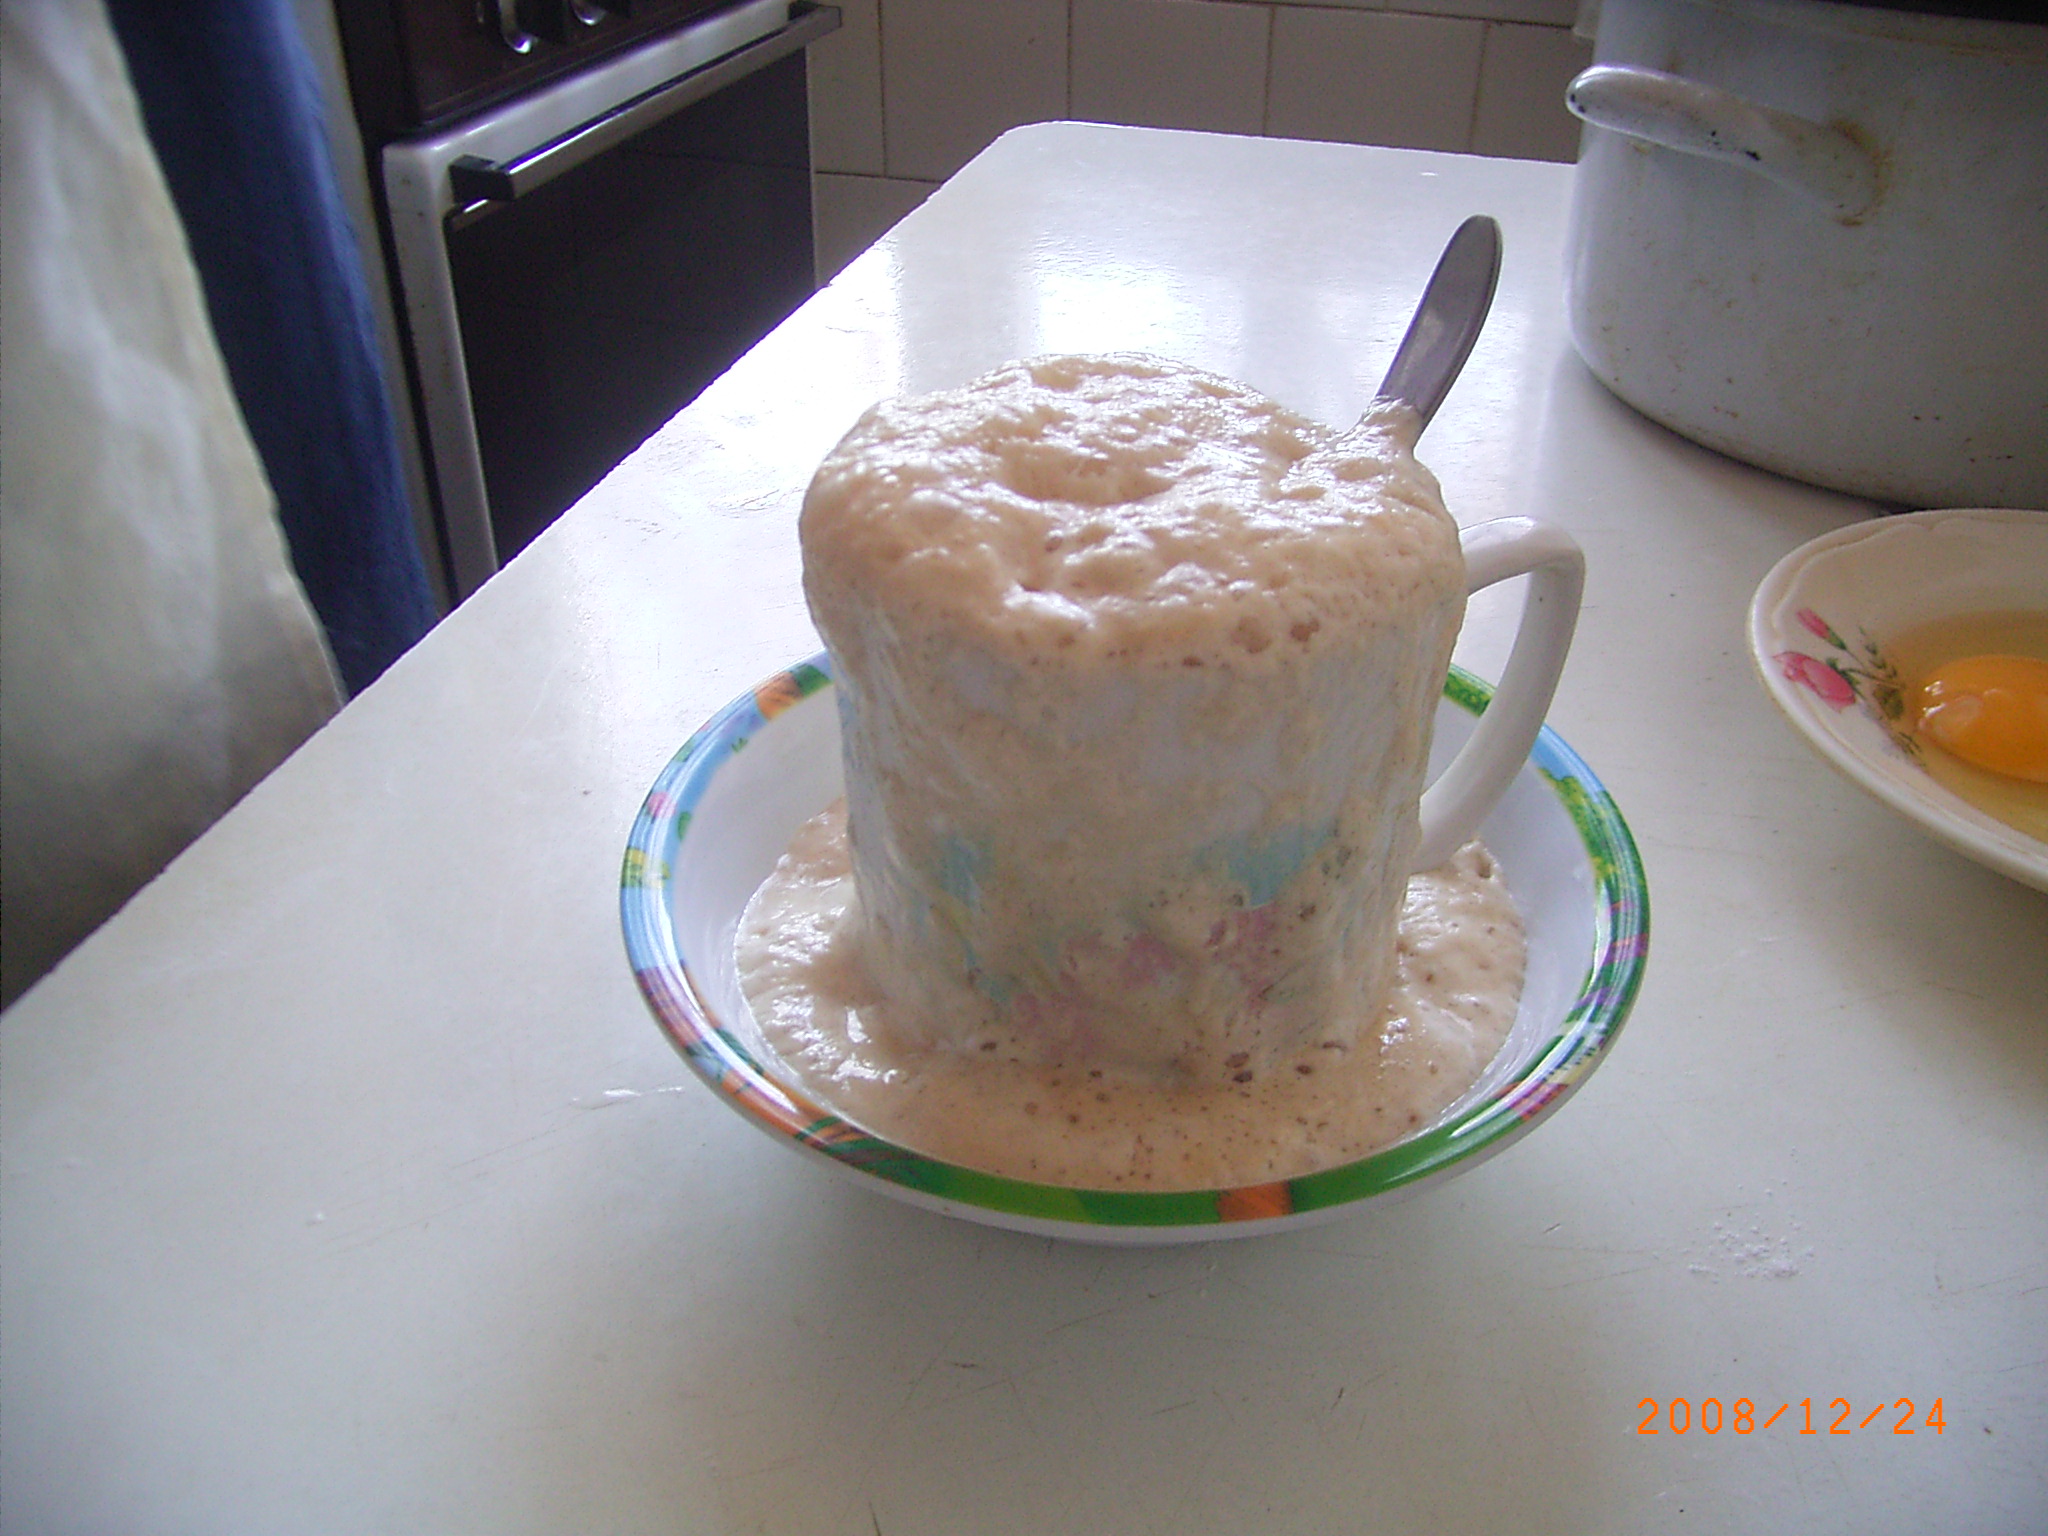
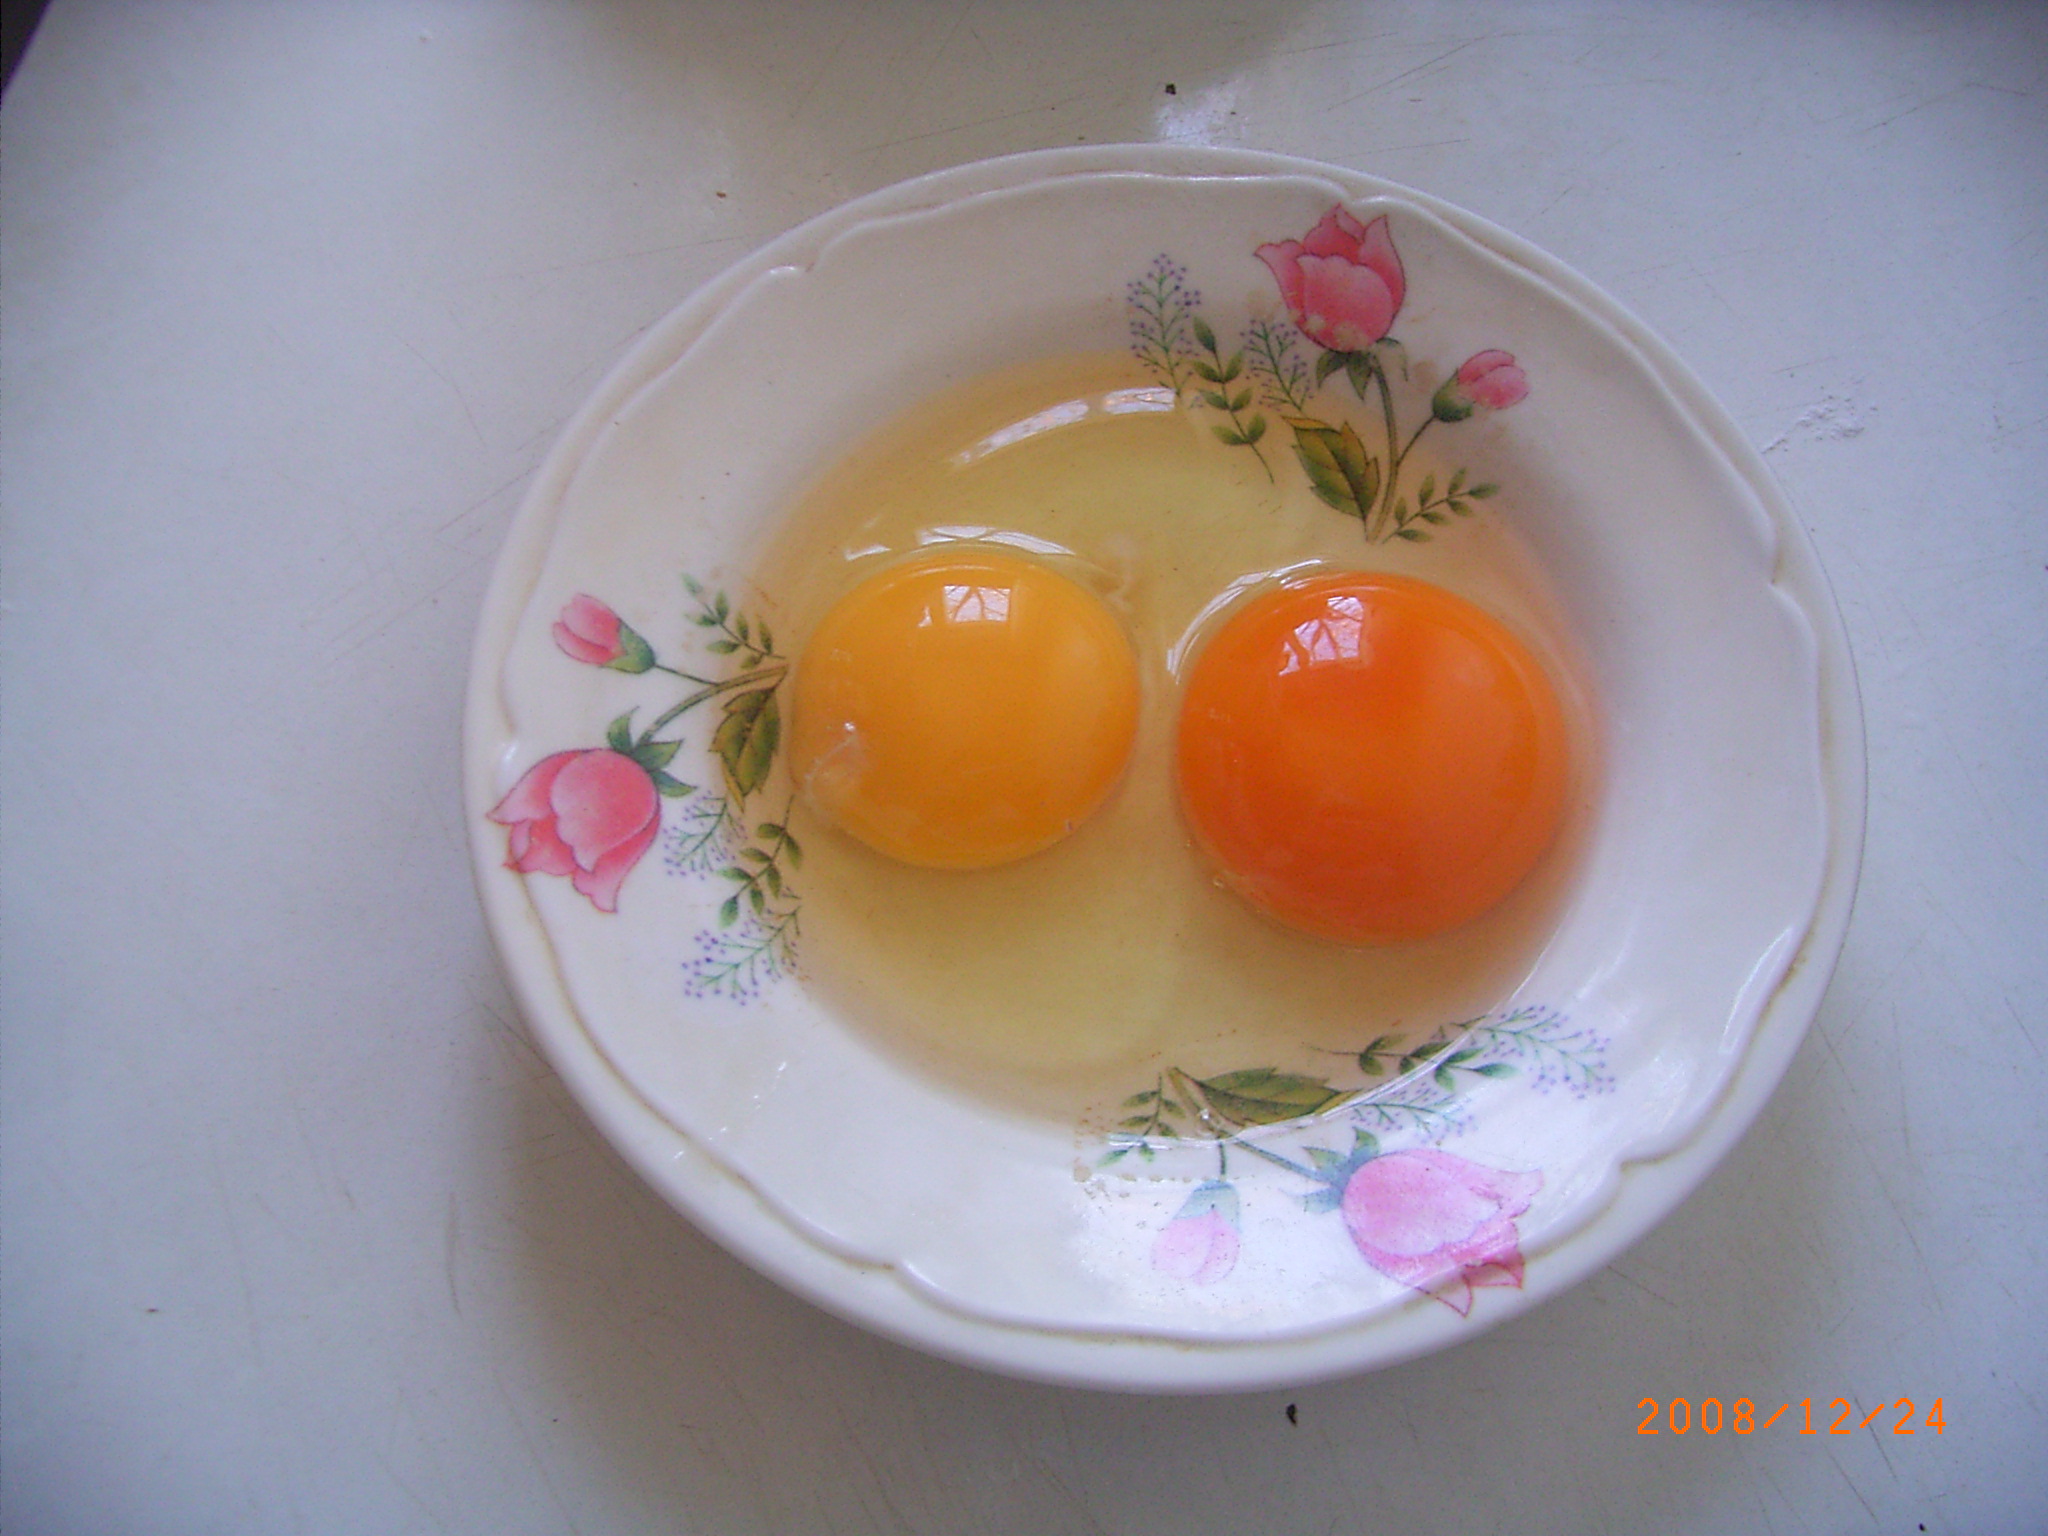
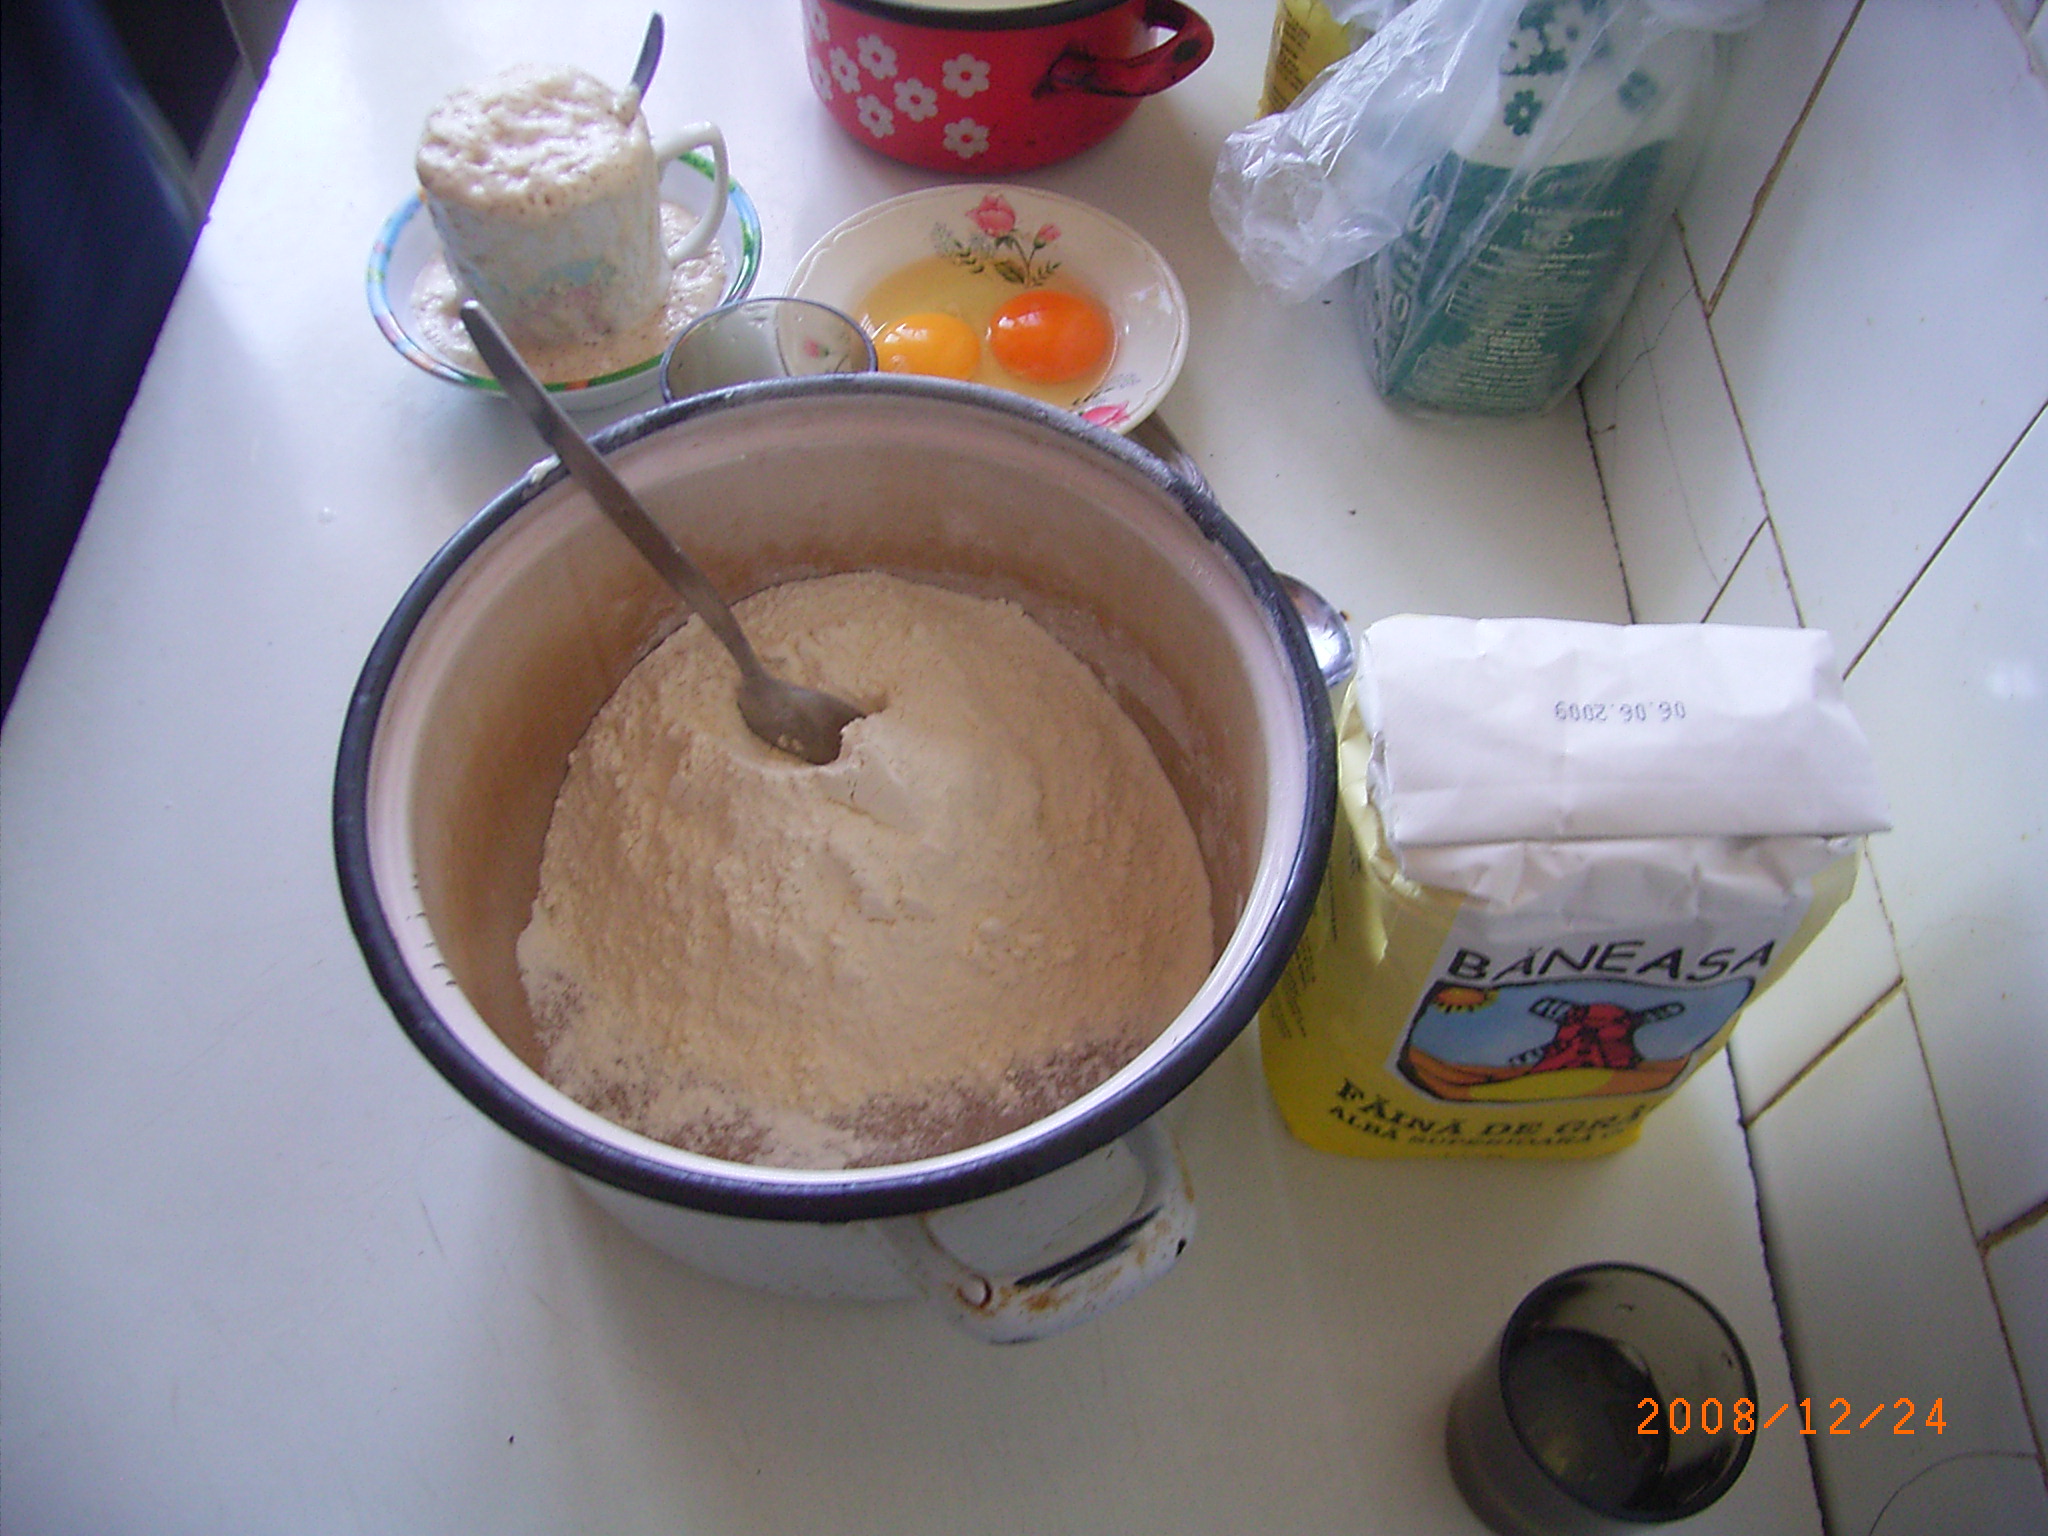
K2/1: The yeast • K2/2: Two egg-yolks and one egg-white • K2/3: One egg-white separately • K2/4: Flour • K2/5: Melted butter • K2/6: Milk.
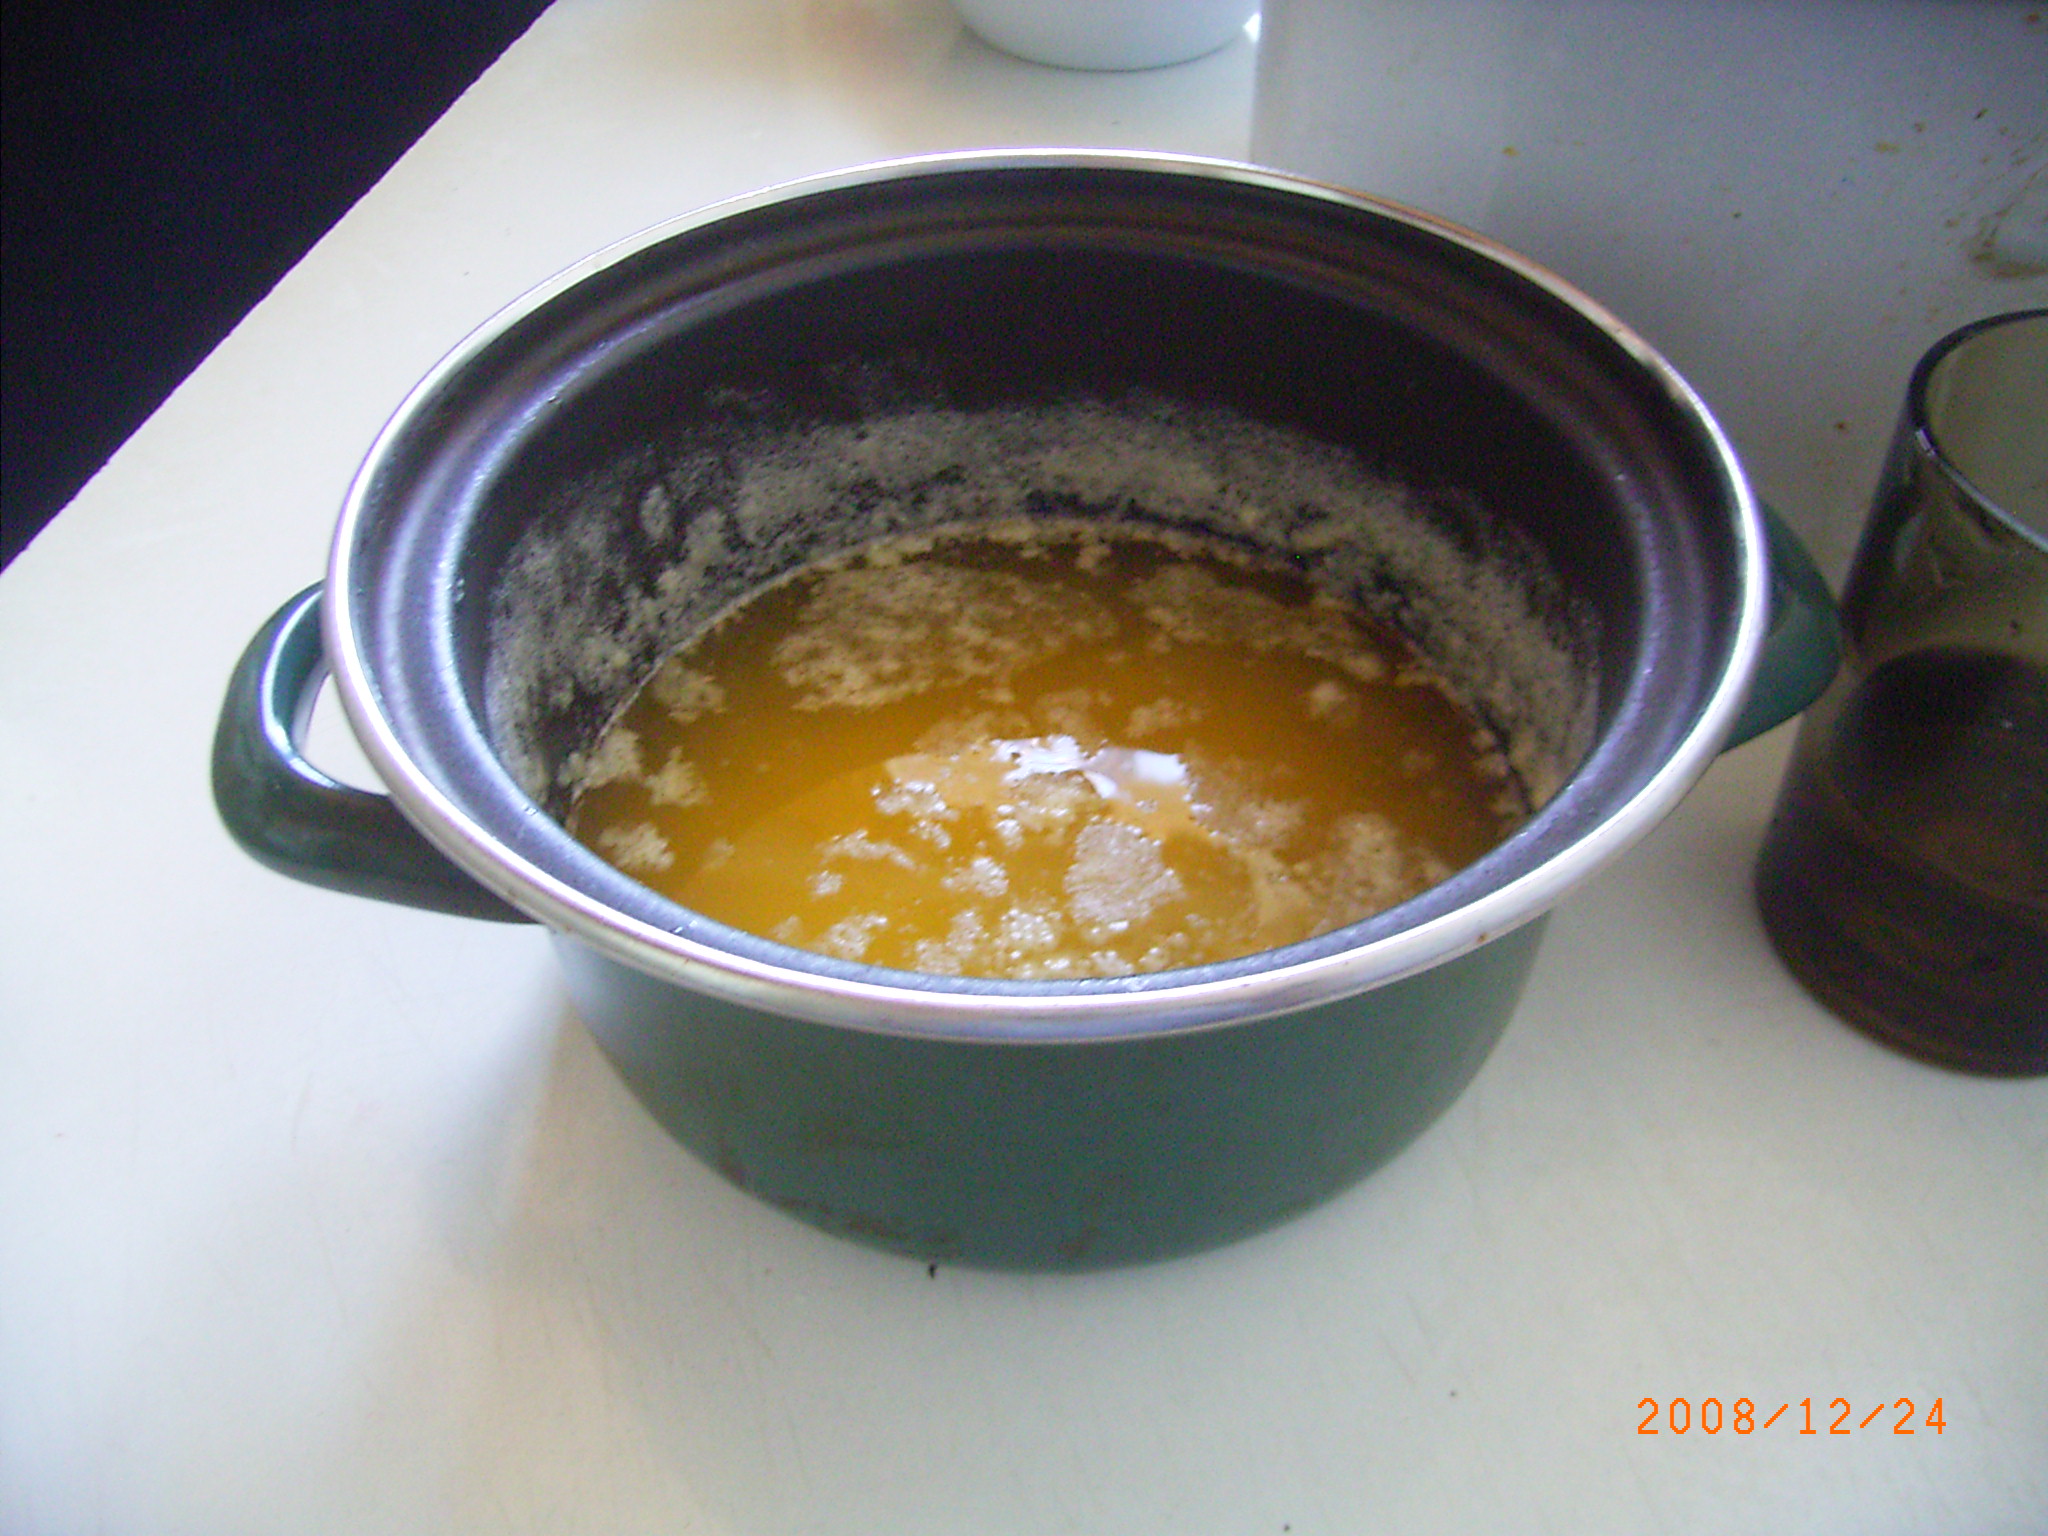
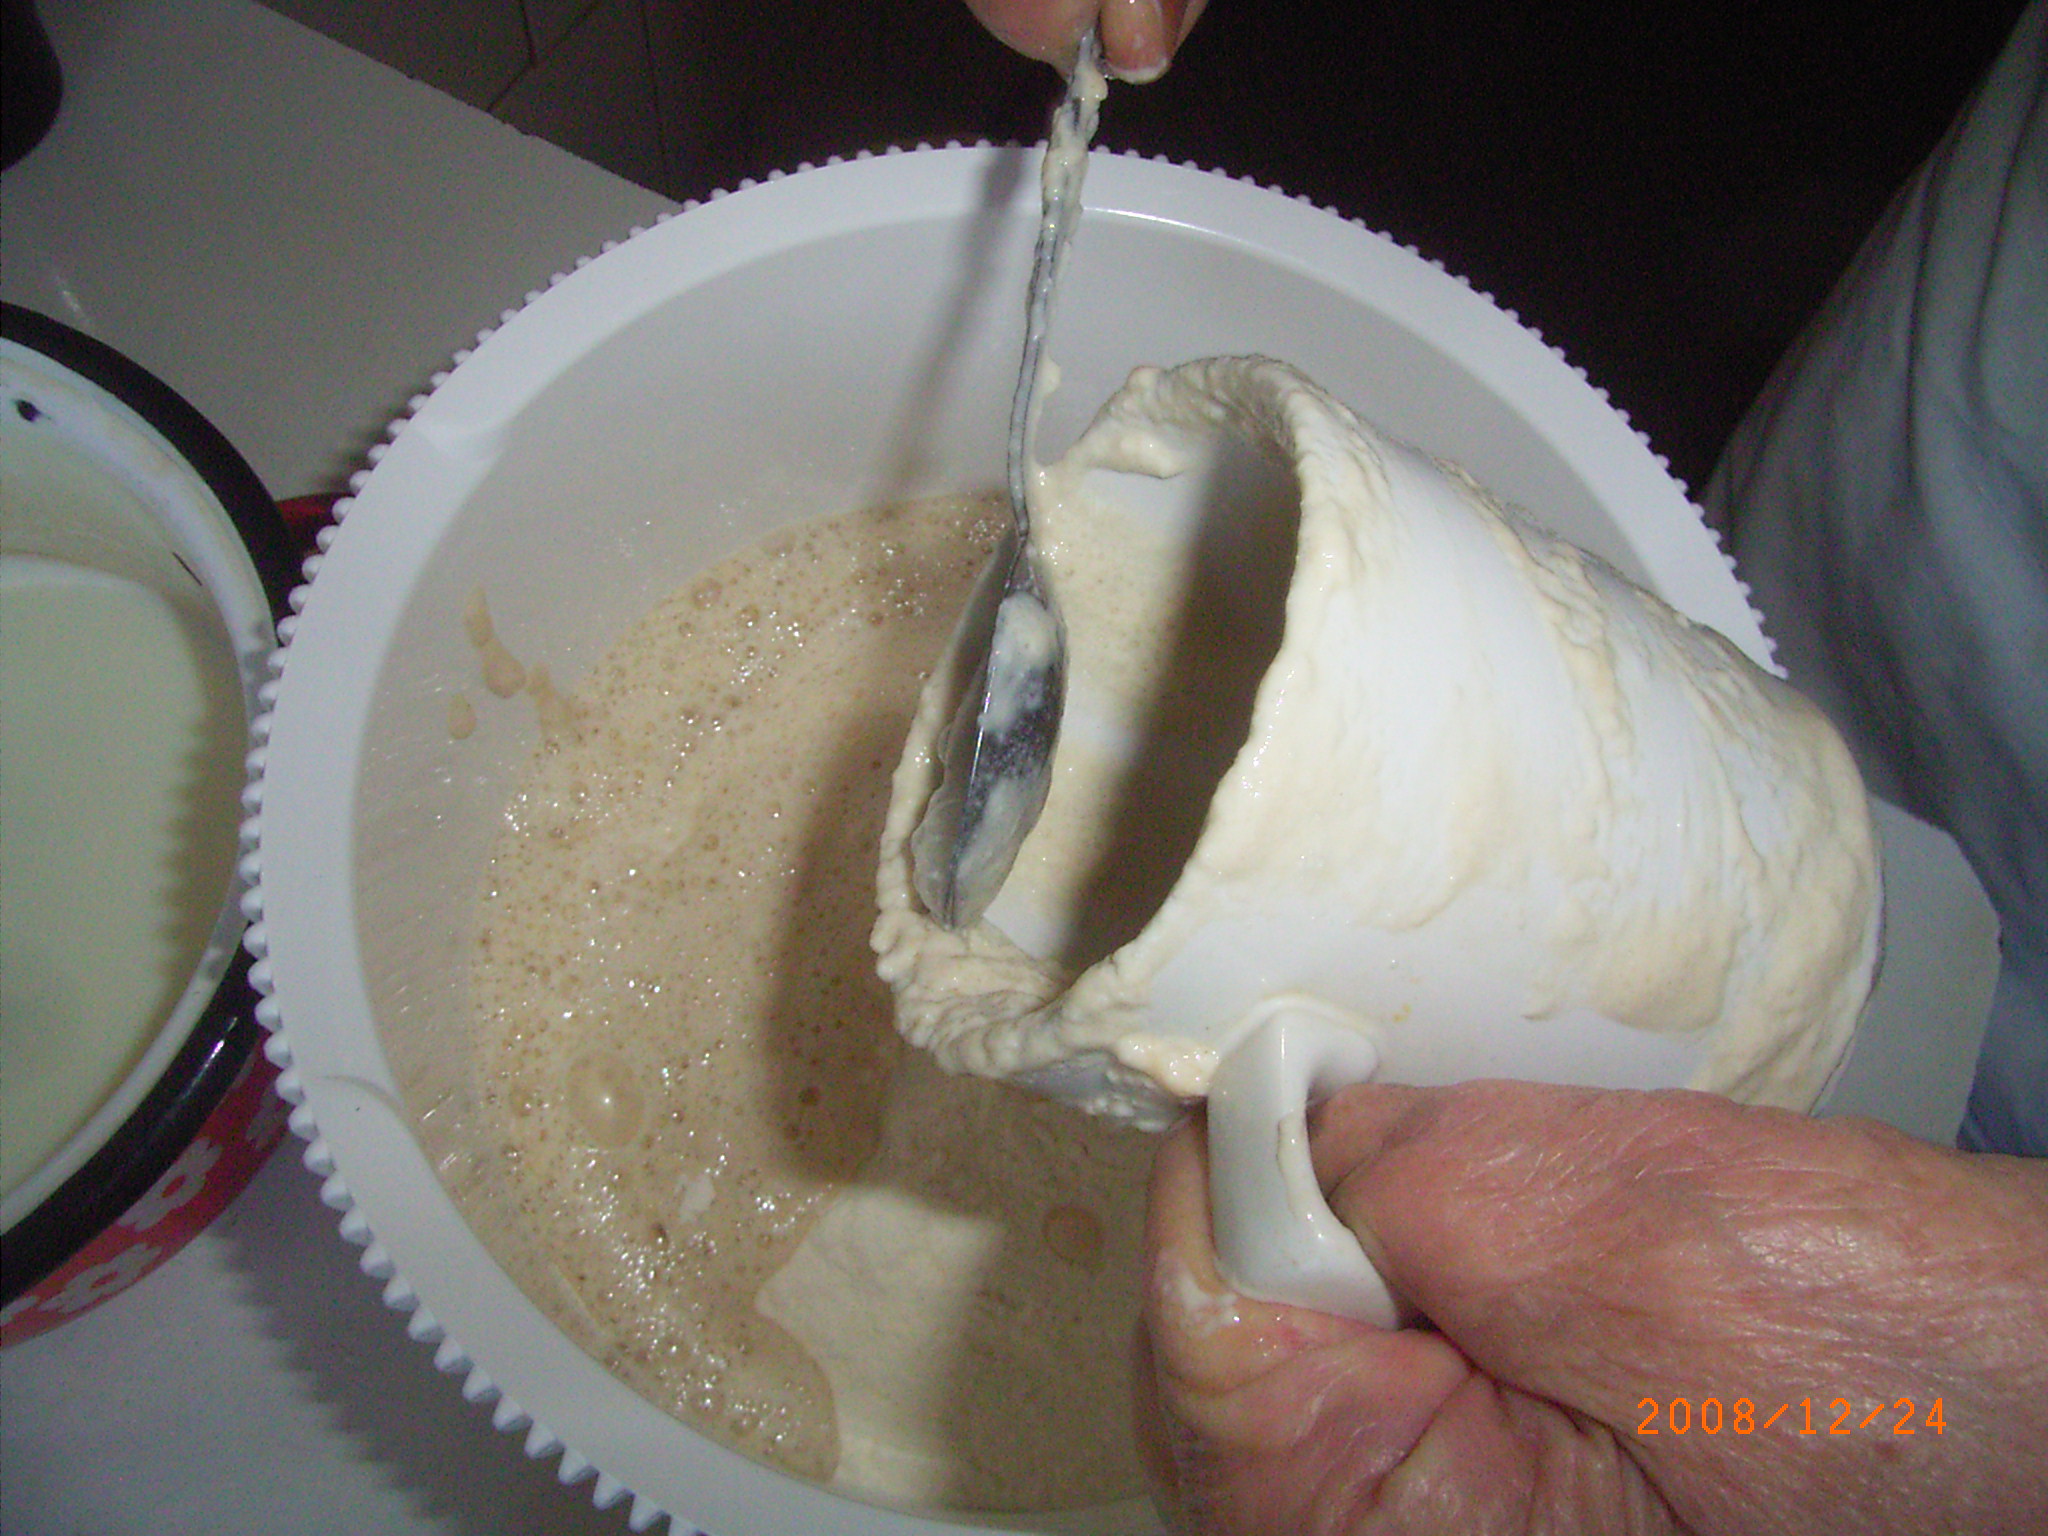
First we prepare the yeast. In a mug we place 1 deciliter of warm milk, 2 tablespoons of flour, a little sugar, 2 teaspoons of powder yeast (or 3 dkg of fresh yeast). We mix it up, and we leave it to rise up. The yeast must rise up just as in the K2/1 image. If it doesn't rise up then the yeast is not good. If it is good then it should rise in about 15 minutes.
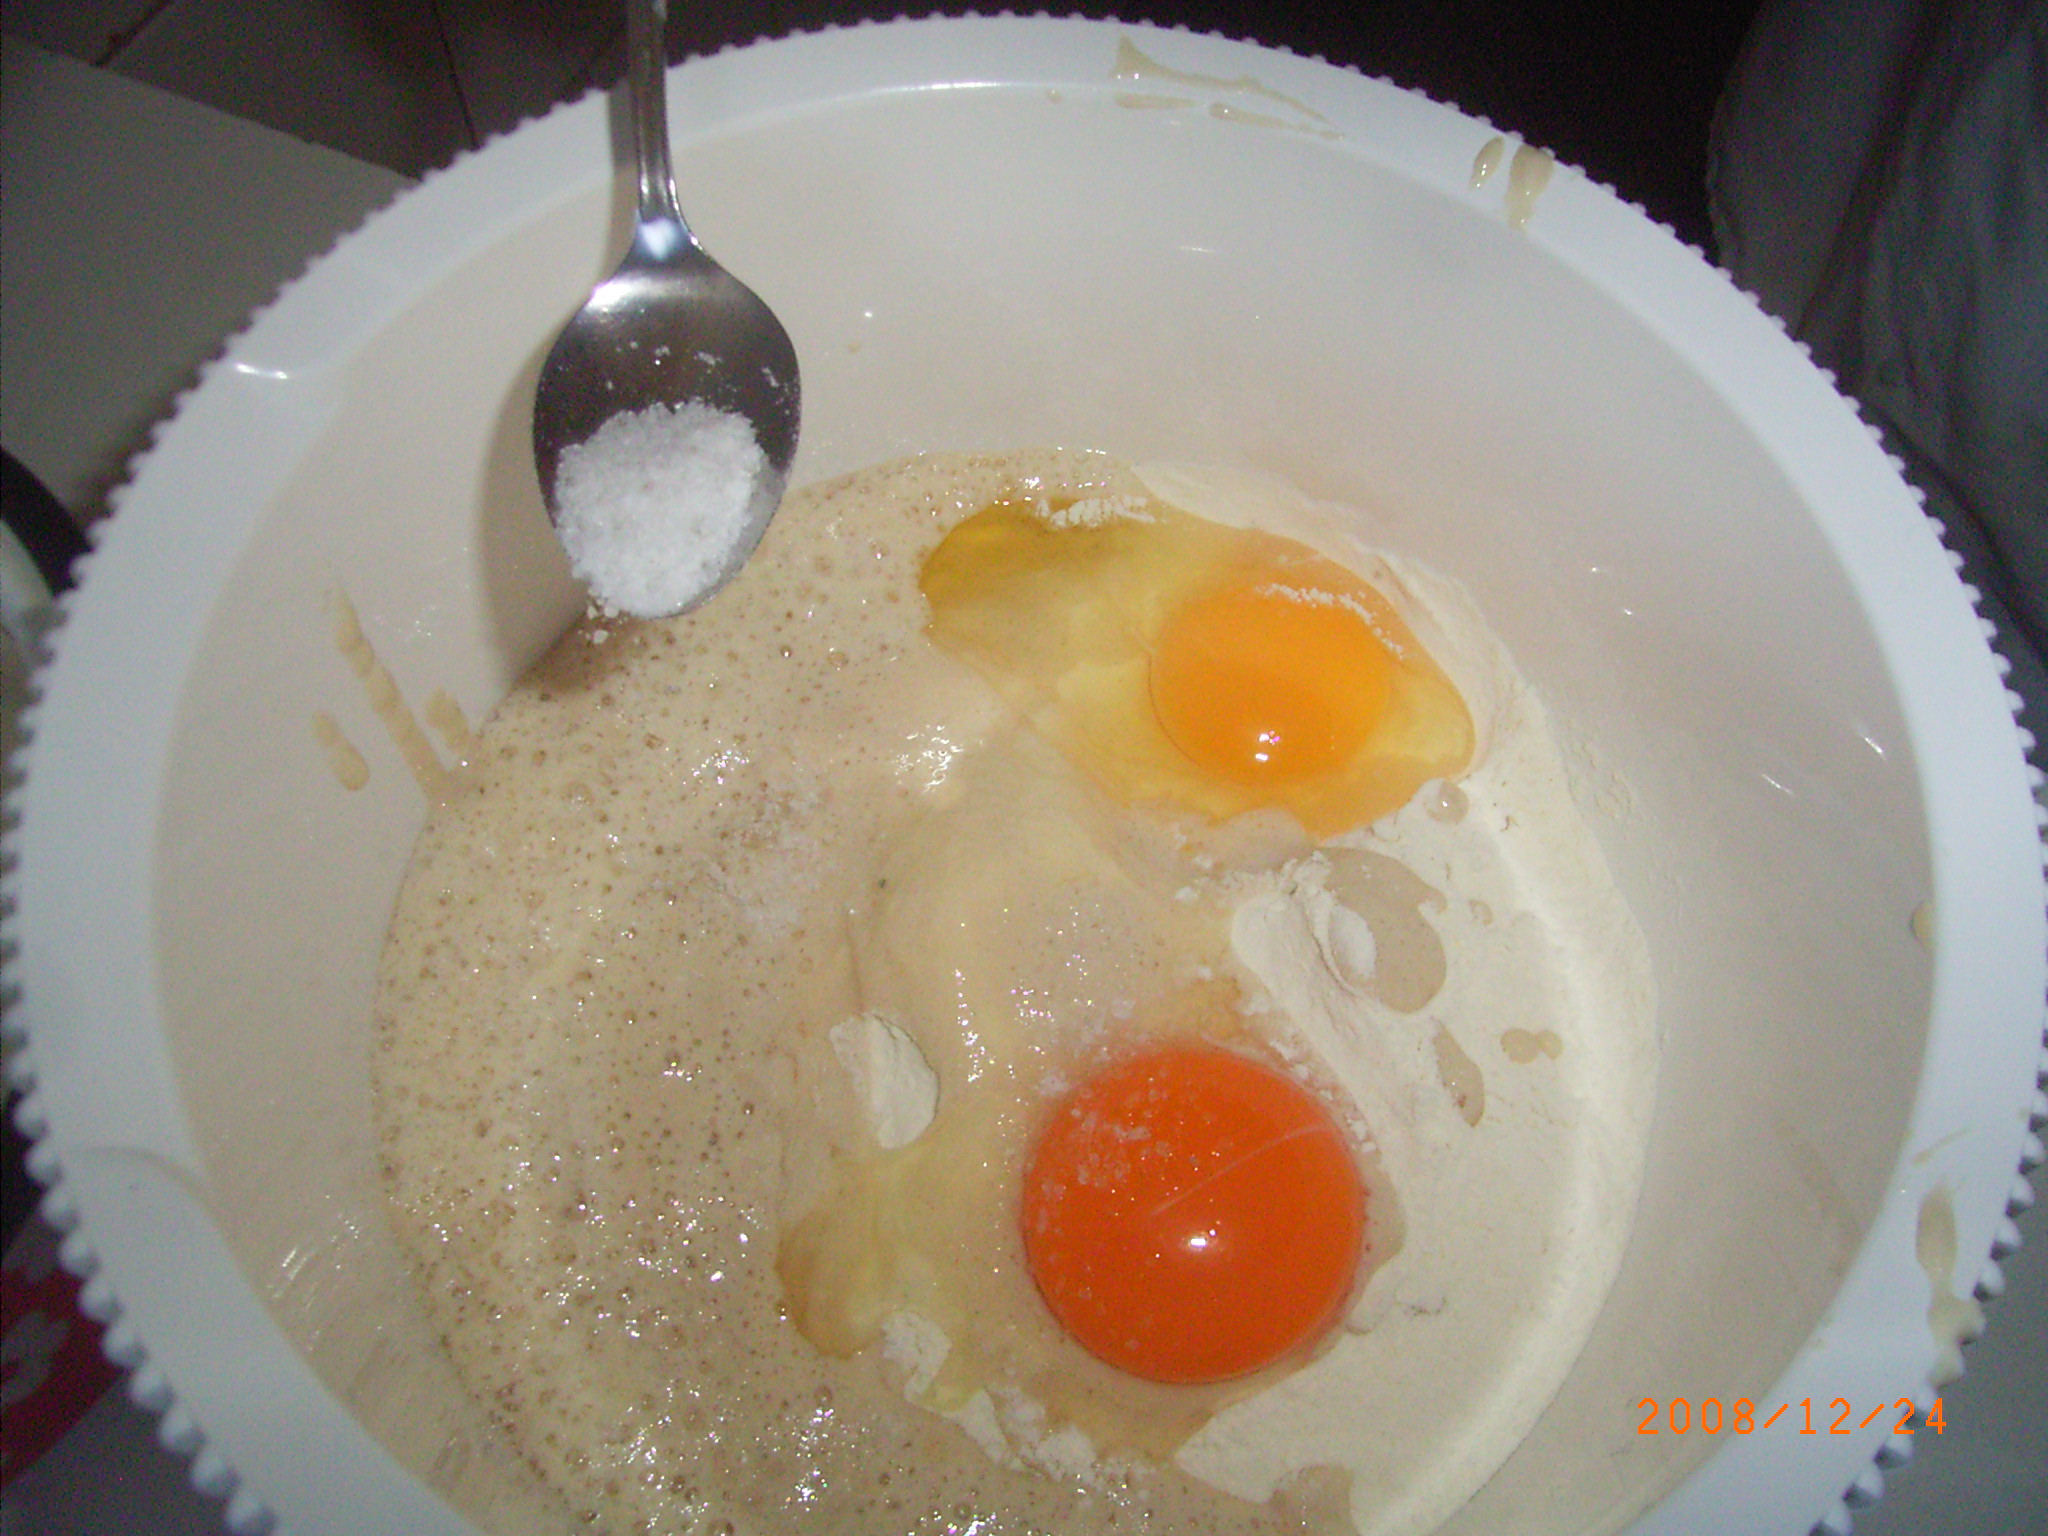
At a later step we will put only one full egg, and an egg-yolk into the dough (K2/2). The remaining egg-white (K2/3) will be smeared on the top of the dough before we cook it.
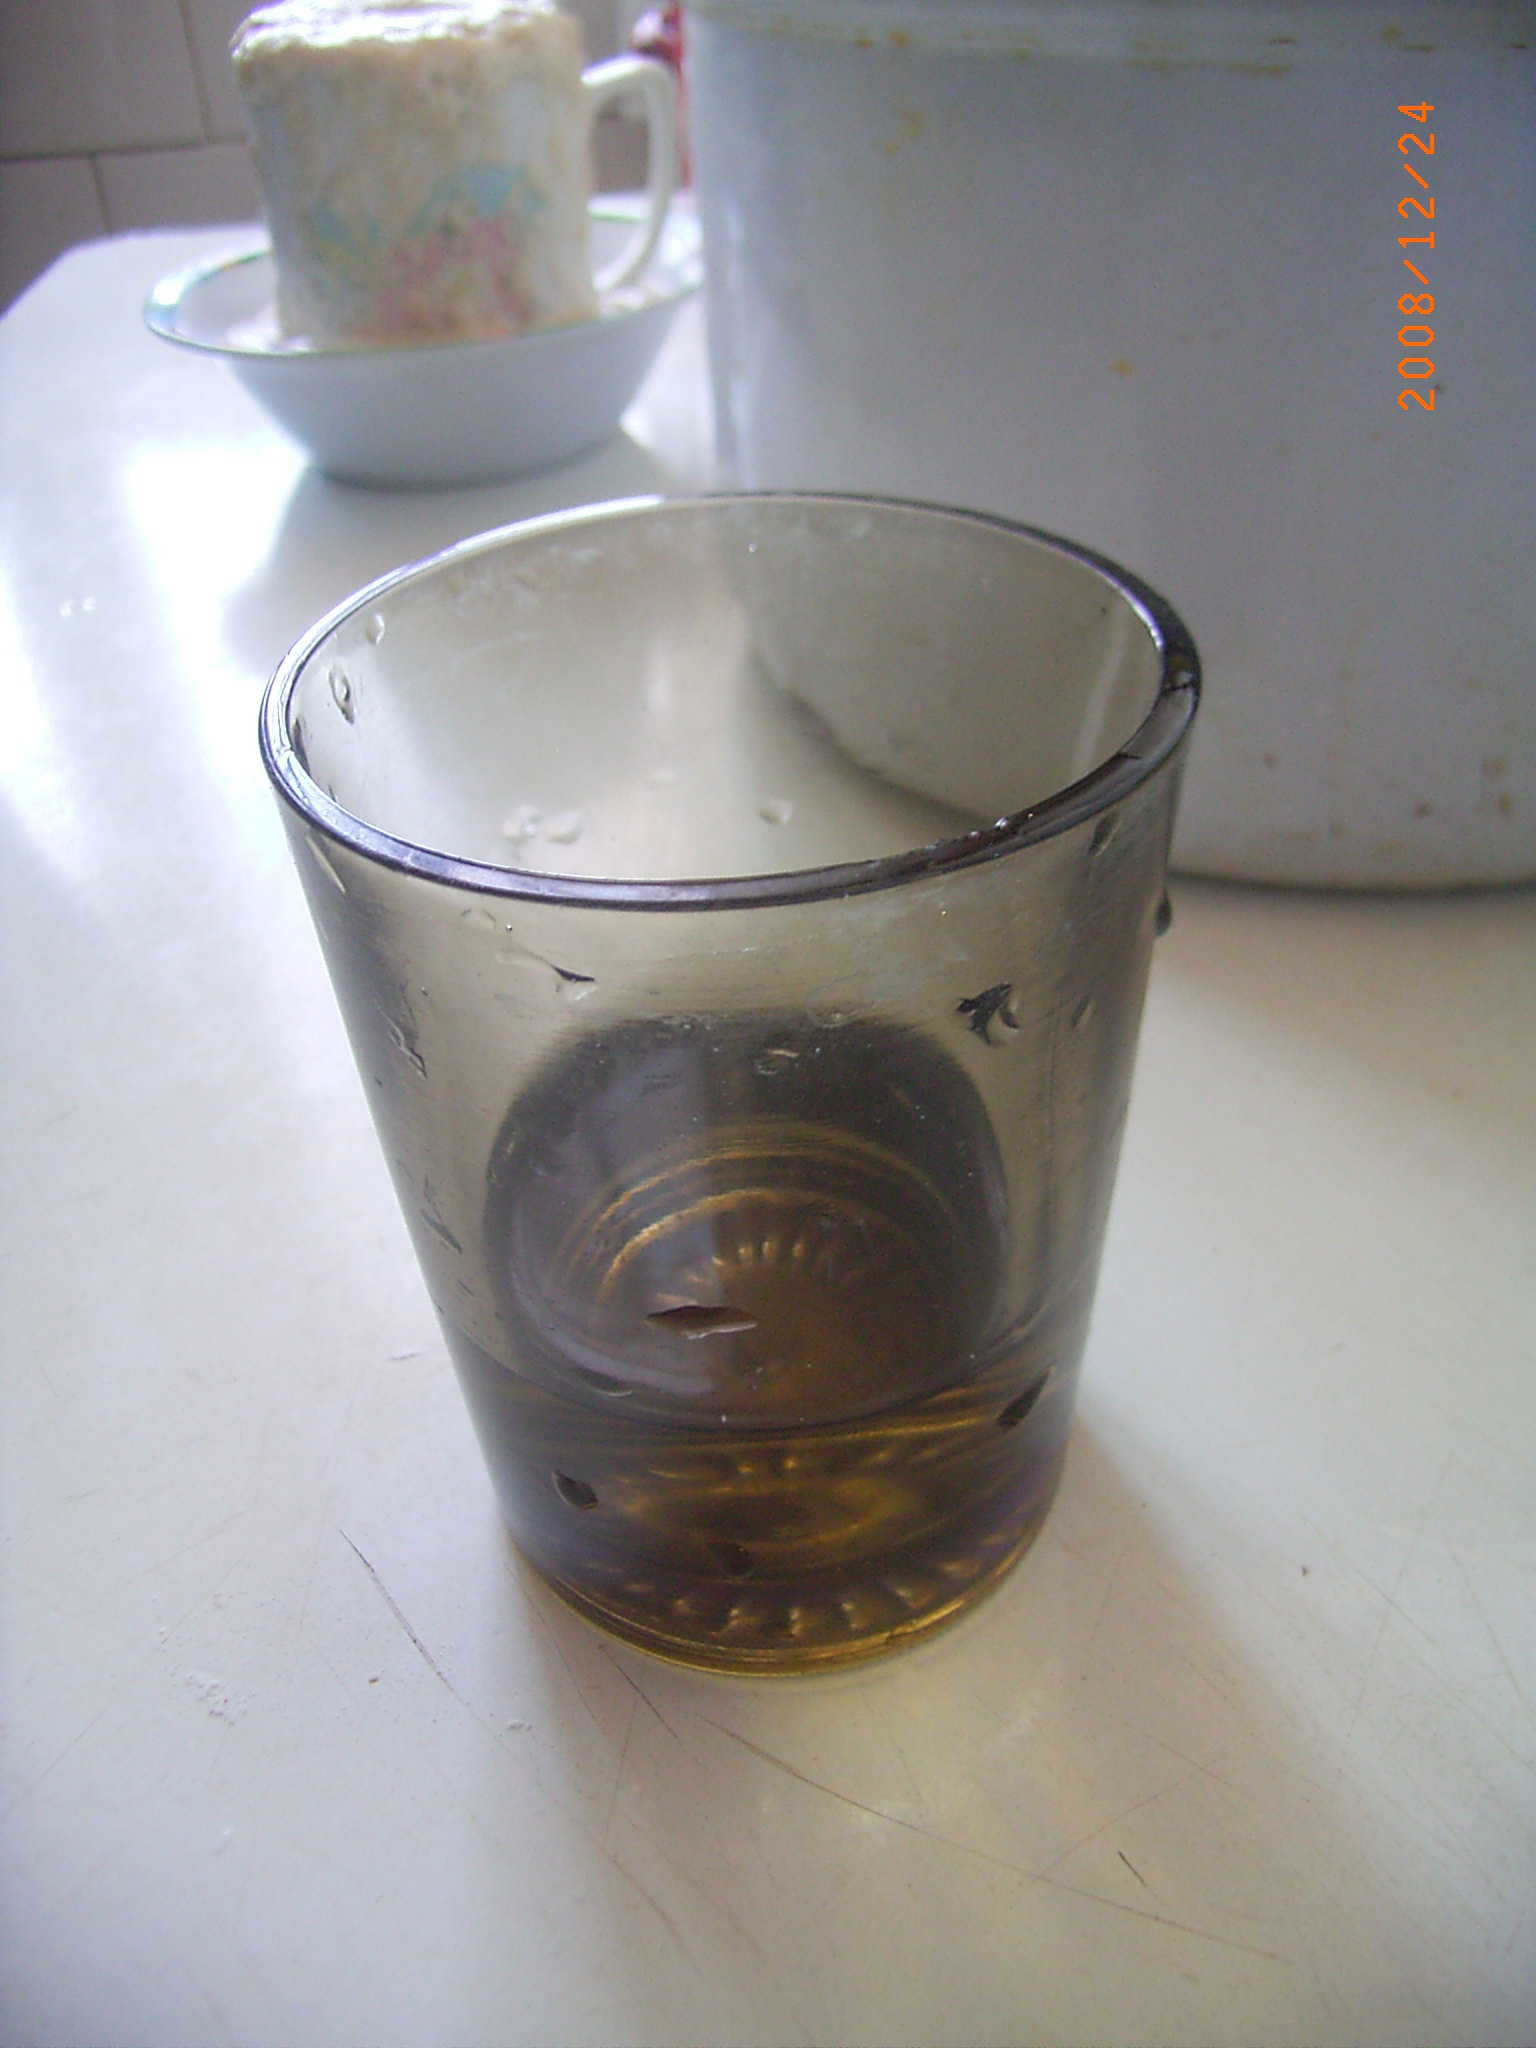
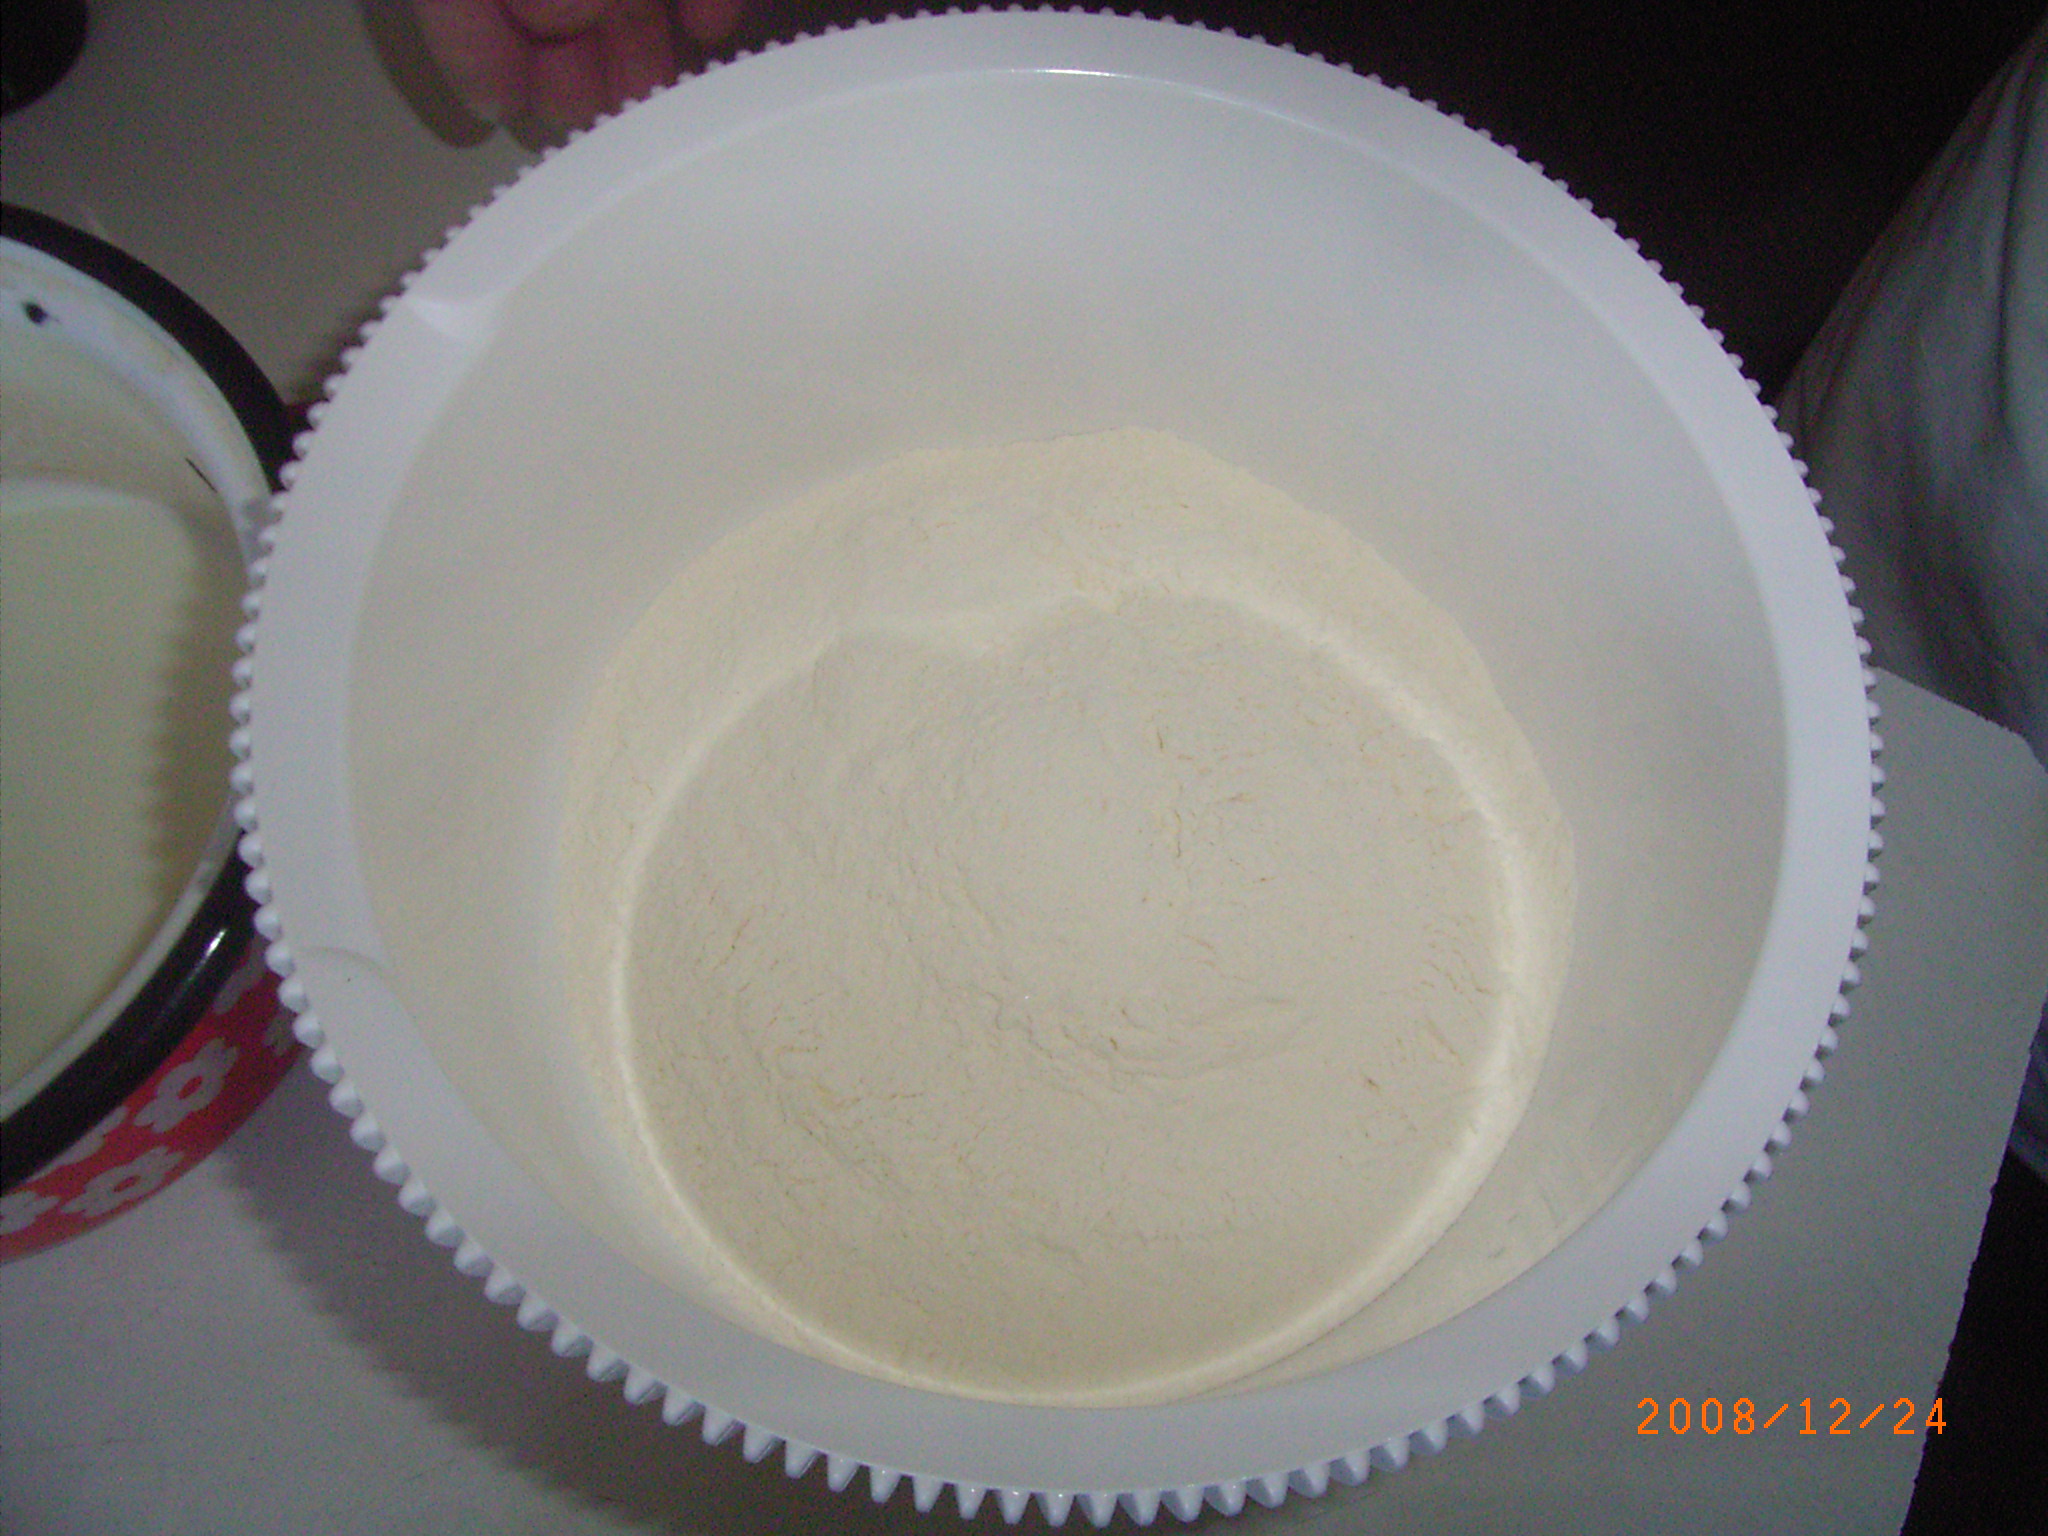
We measure the 0.5 kg flour (K2/4), and we prepare the mug of warm milk (minus the 1 dl we used for the yeast) (K2/6). We cook the butter until it will start to become transparent (until it won't be too cloudy) (K2/5). Don't overburn the butter!
Making of the dough:
K3/1: The flour in the kneading machine • K3/2: We add the risen yeast • K3/3: We add one teaspoon of salt • K3/4: We add the milk • K3/5: If the dough is too soft then we add more flour • K3/6: A sign to see how much we want the dough to swell.
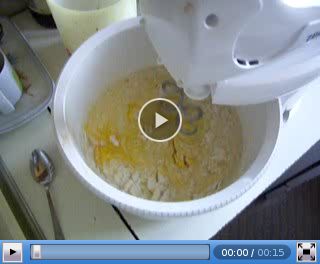
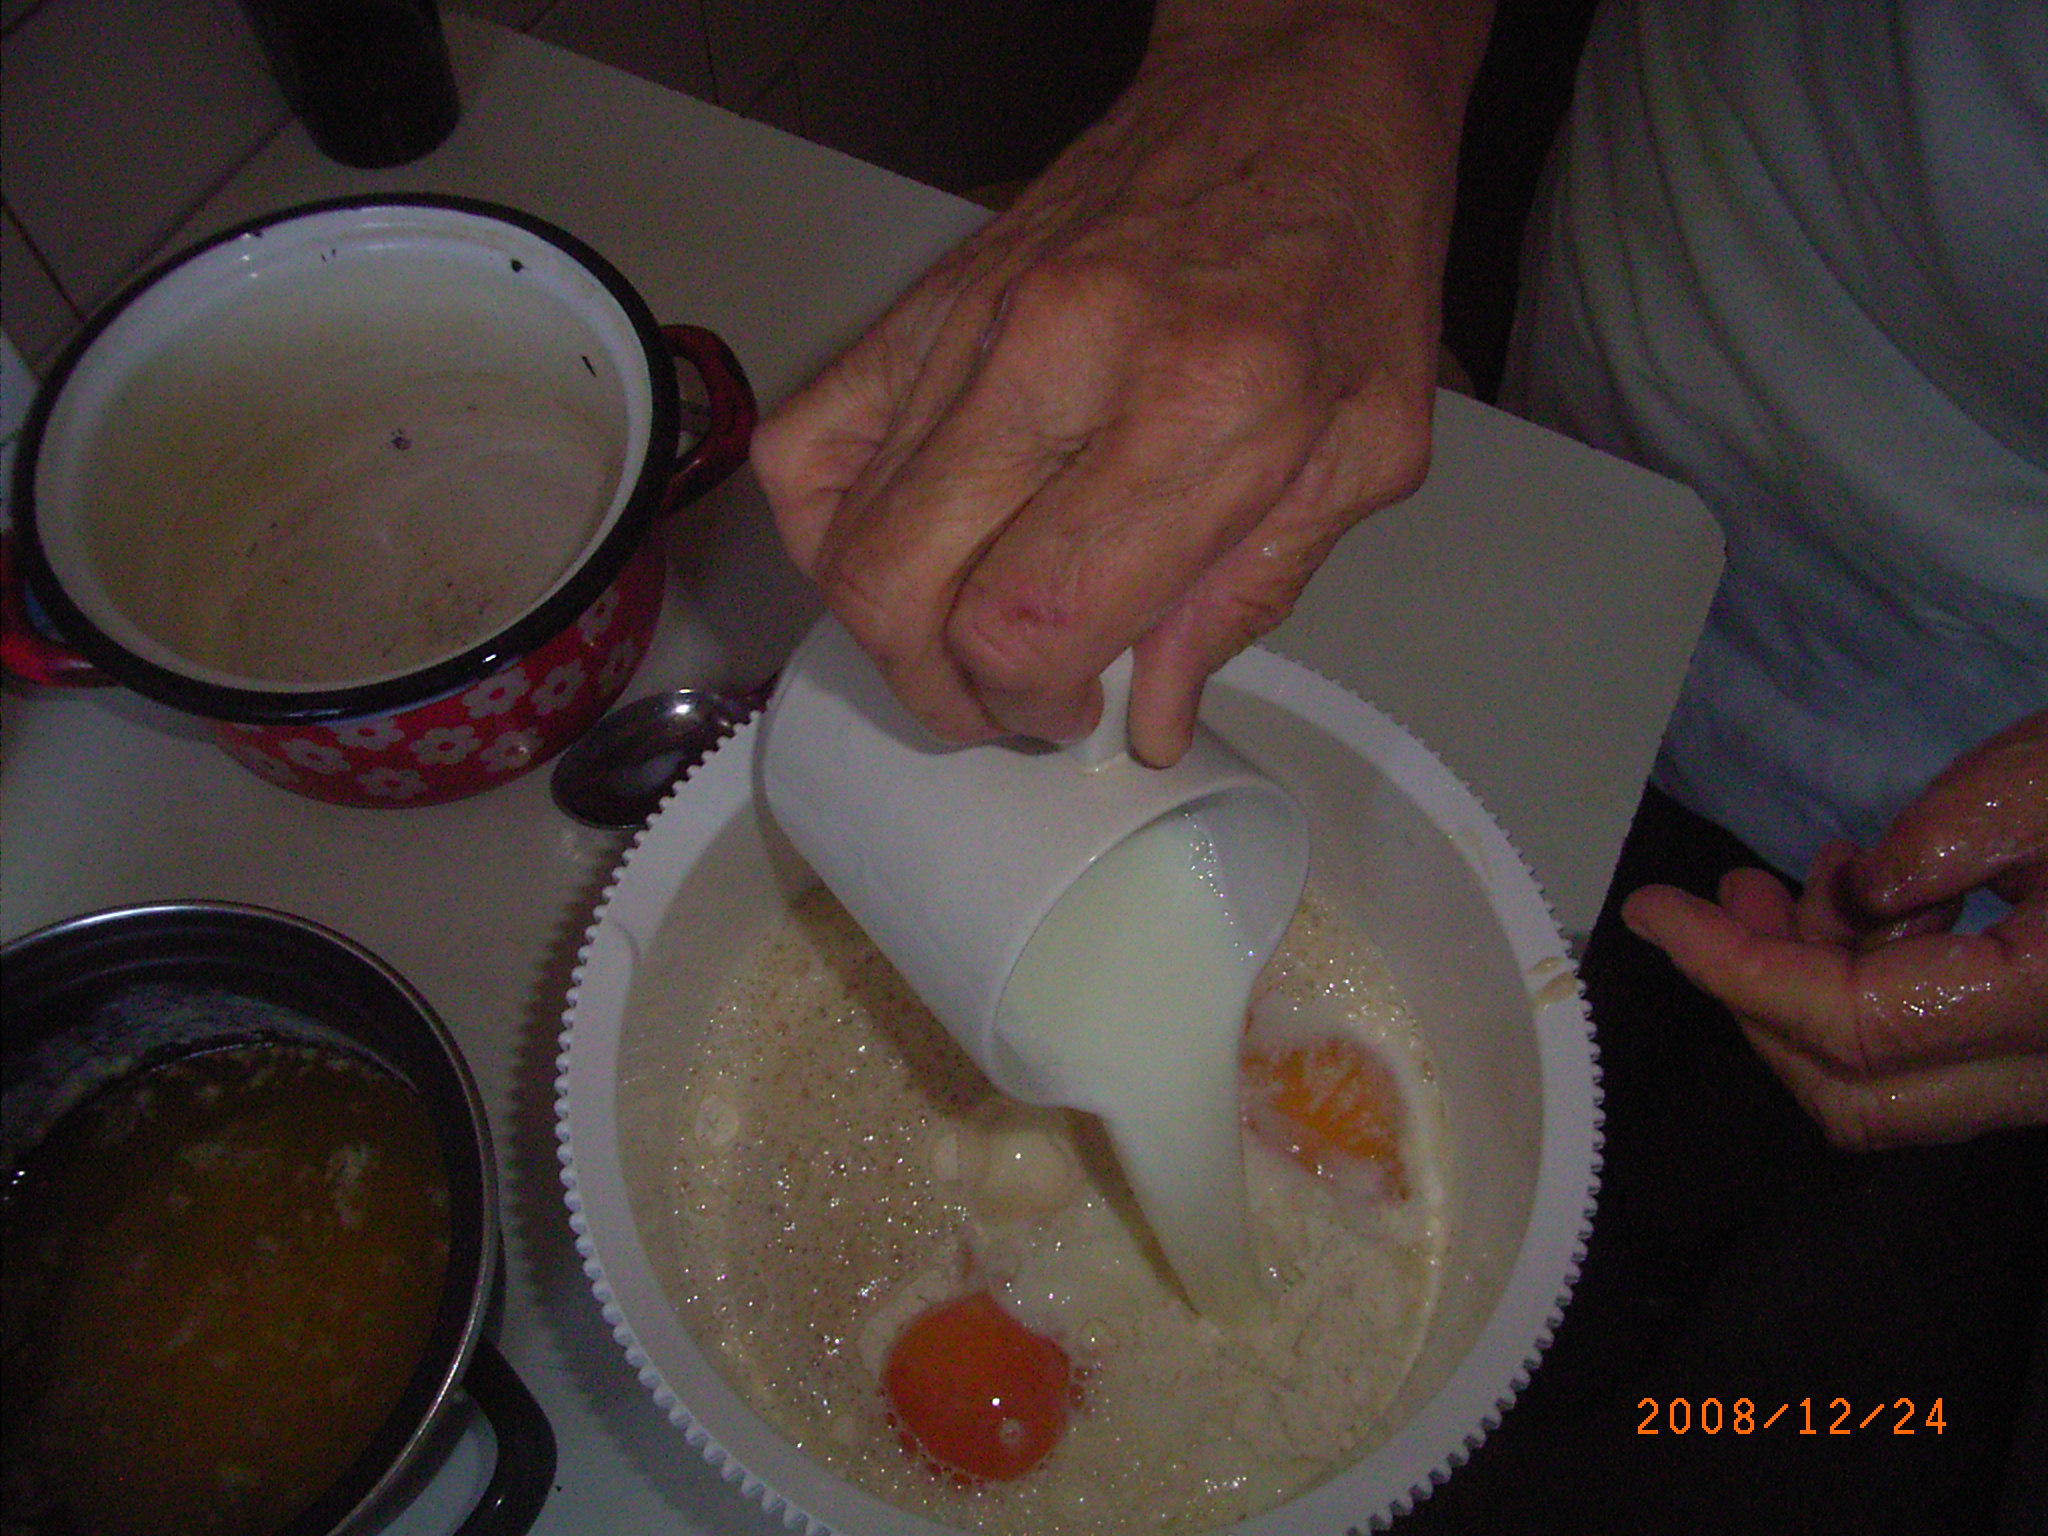
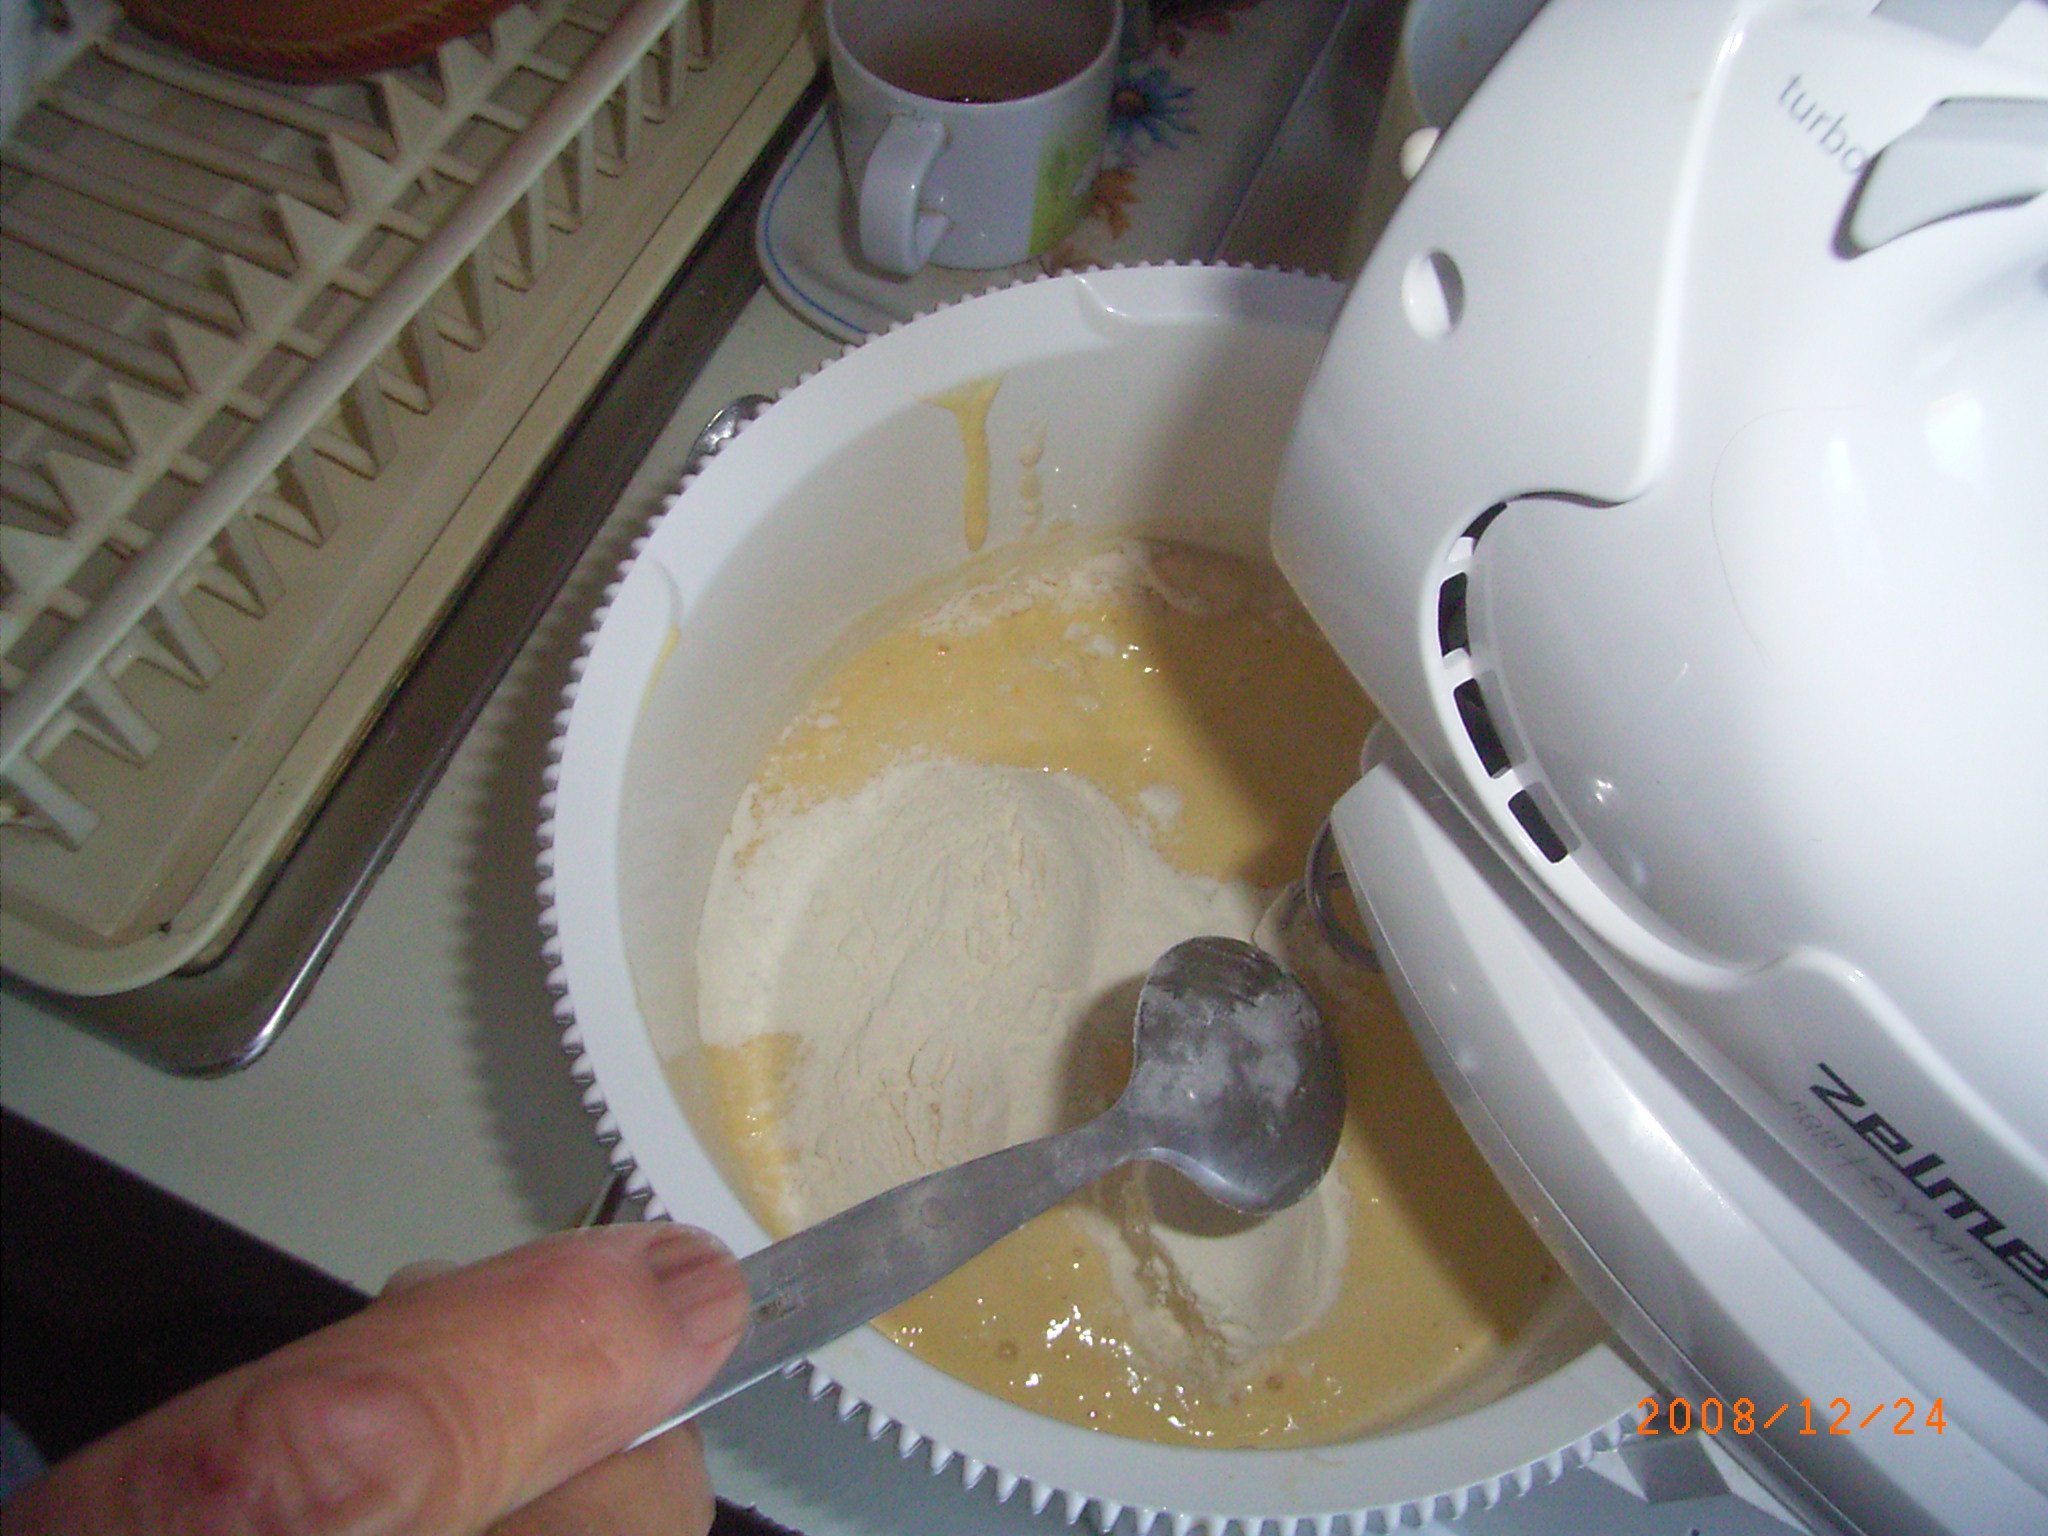
In the kneading machine we put the flour, the risen yeast, the one and a half egg, a teaspoon of salt, and the 1.5 deciliter milk.
We start the machine, and after a while we start paying attention to the consistency of the dough. If the dough is too soft then we add more flour (K3/5). If it is too hard then we add more milk to it. When the kneading is about 50% complete, we add two tablespoons of melted butter.
On the V1 video you can see how the kneading machine is working on the dough. The dough must be worked very well, until it separates from the wall of the dish of the kneading machine. Otherwise it will break, and it will not stretch well. In the preparing of the Somodi kalács it is very important for the dough to stretch easily.
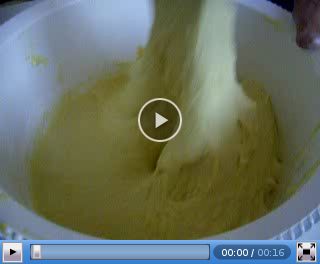
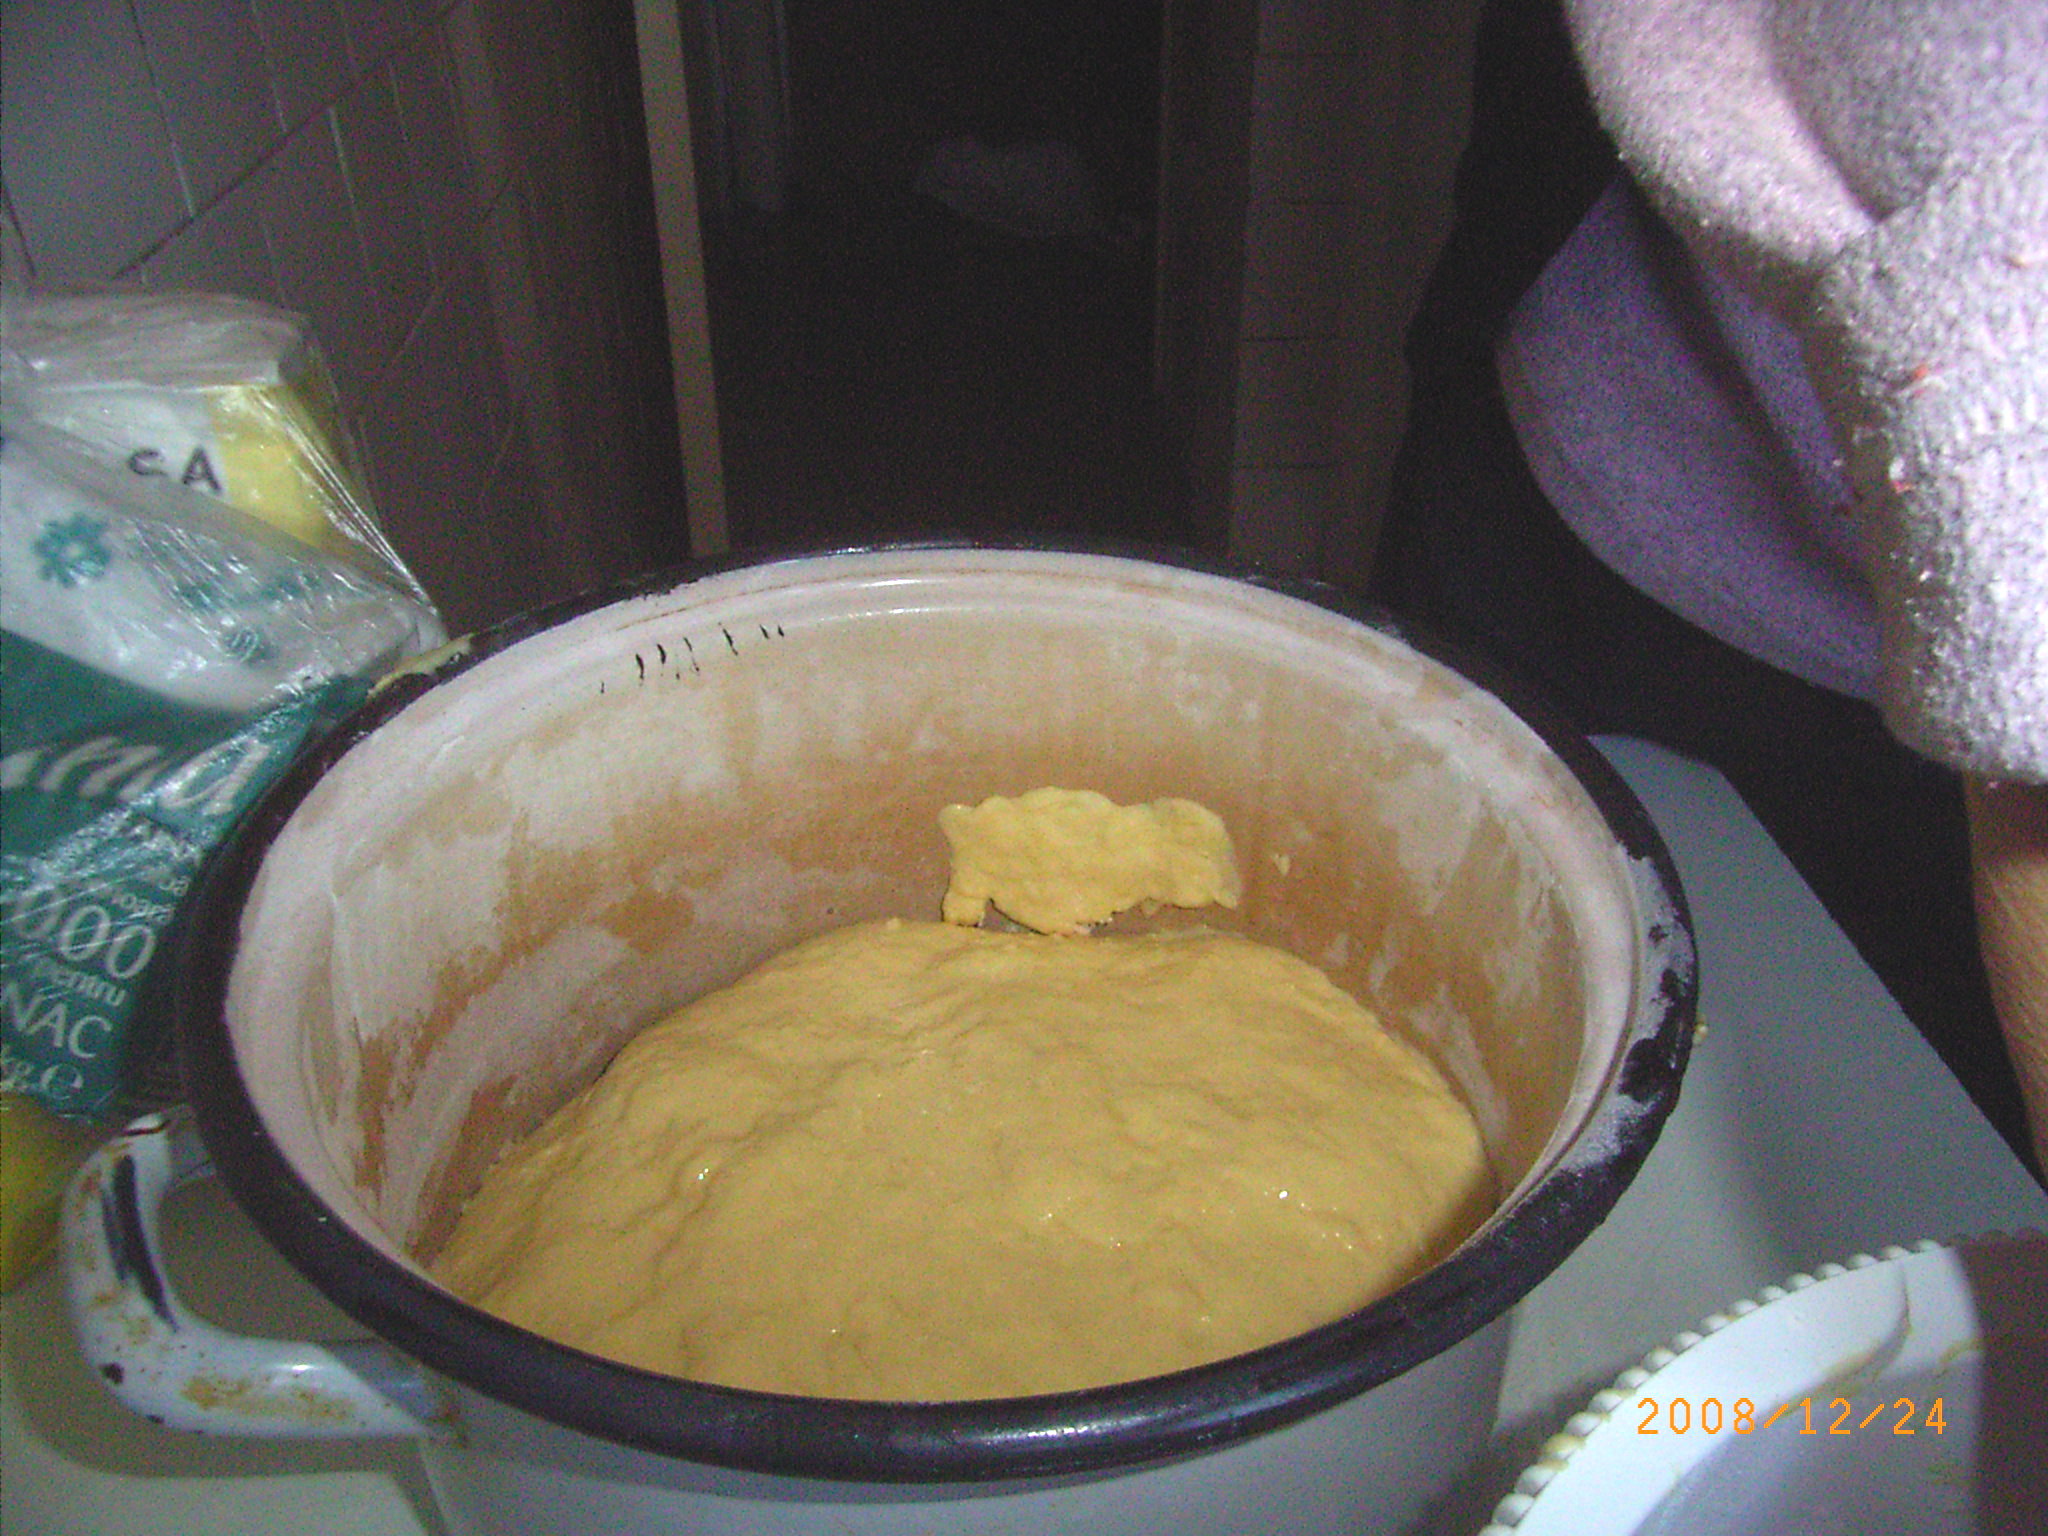
After kneading the consistency/softness of the dough should be similar to what you can see on the V2 and V3 videos, or it could be a little harder. We place the dough in a dish, and smear a little bit of melted butter on it, just as shown on the V3 video, where we will leave it to swell. On the wall of the dish, in a height of two fingers we leave a mark (with a piece of dough) that will show how much we want the dough to swell. (K3/6). The swelling is finished when the dough reaches the sign.
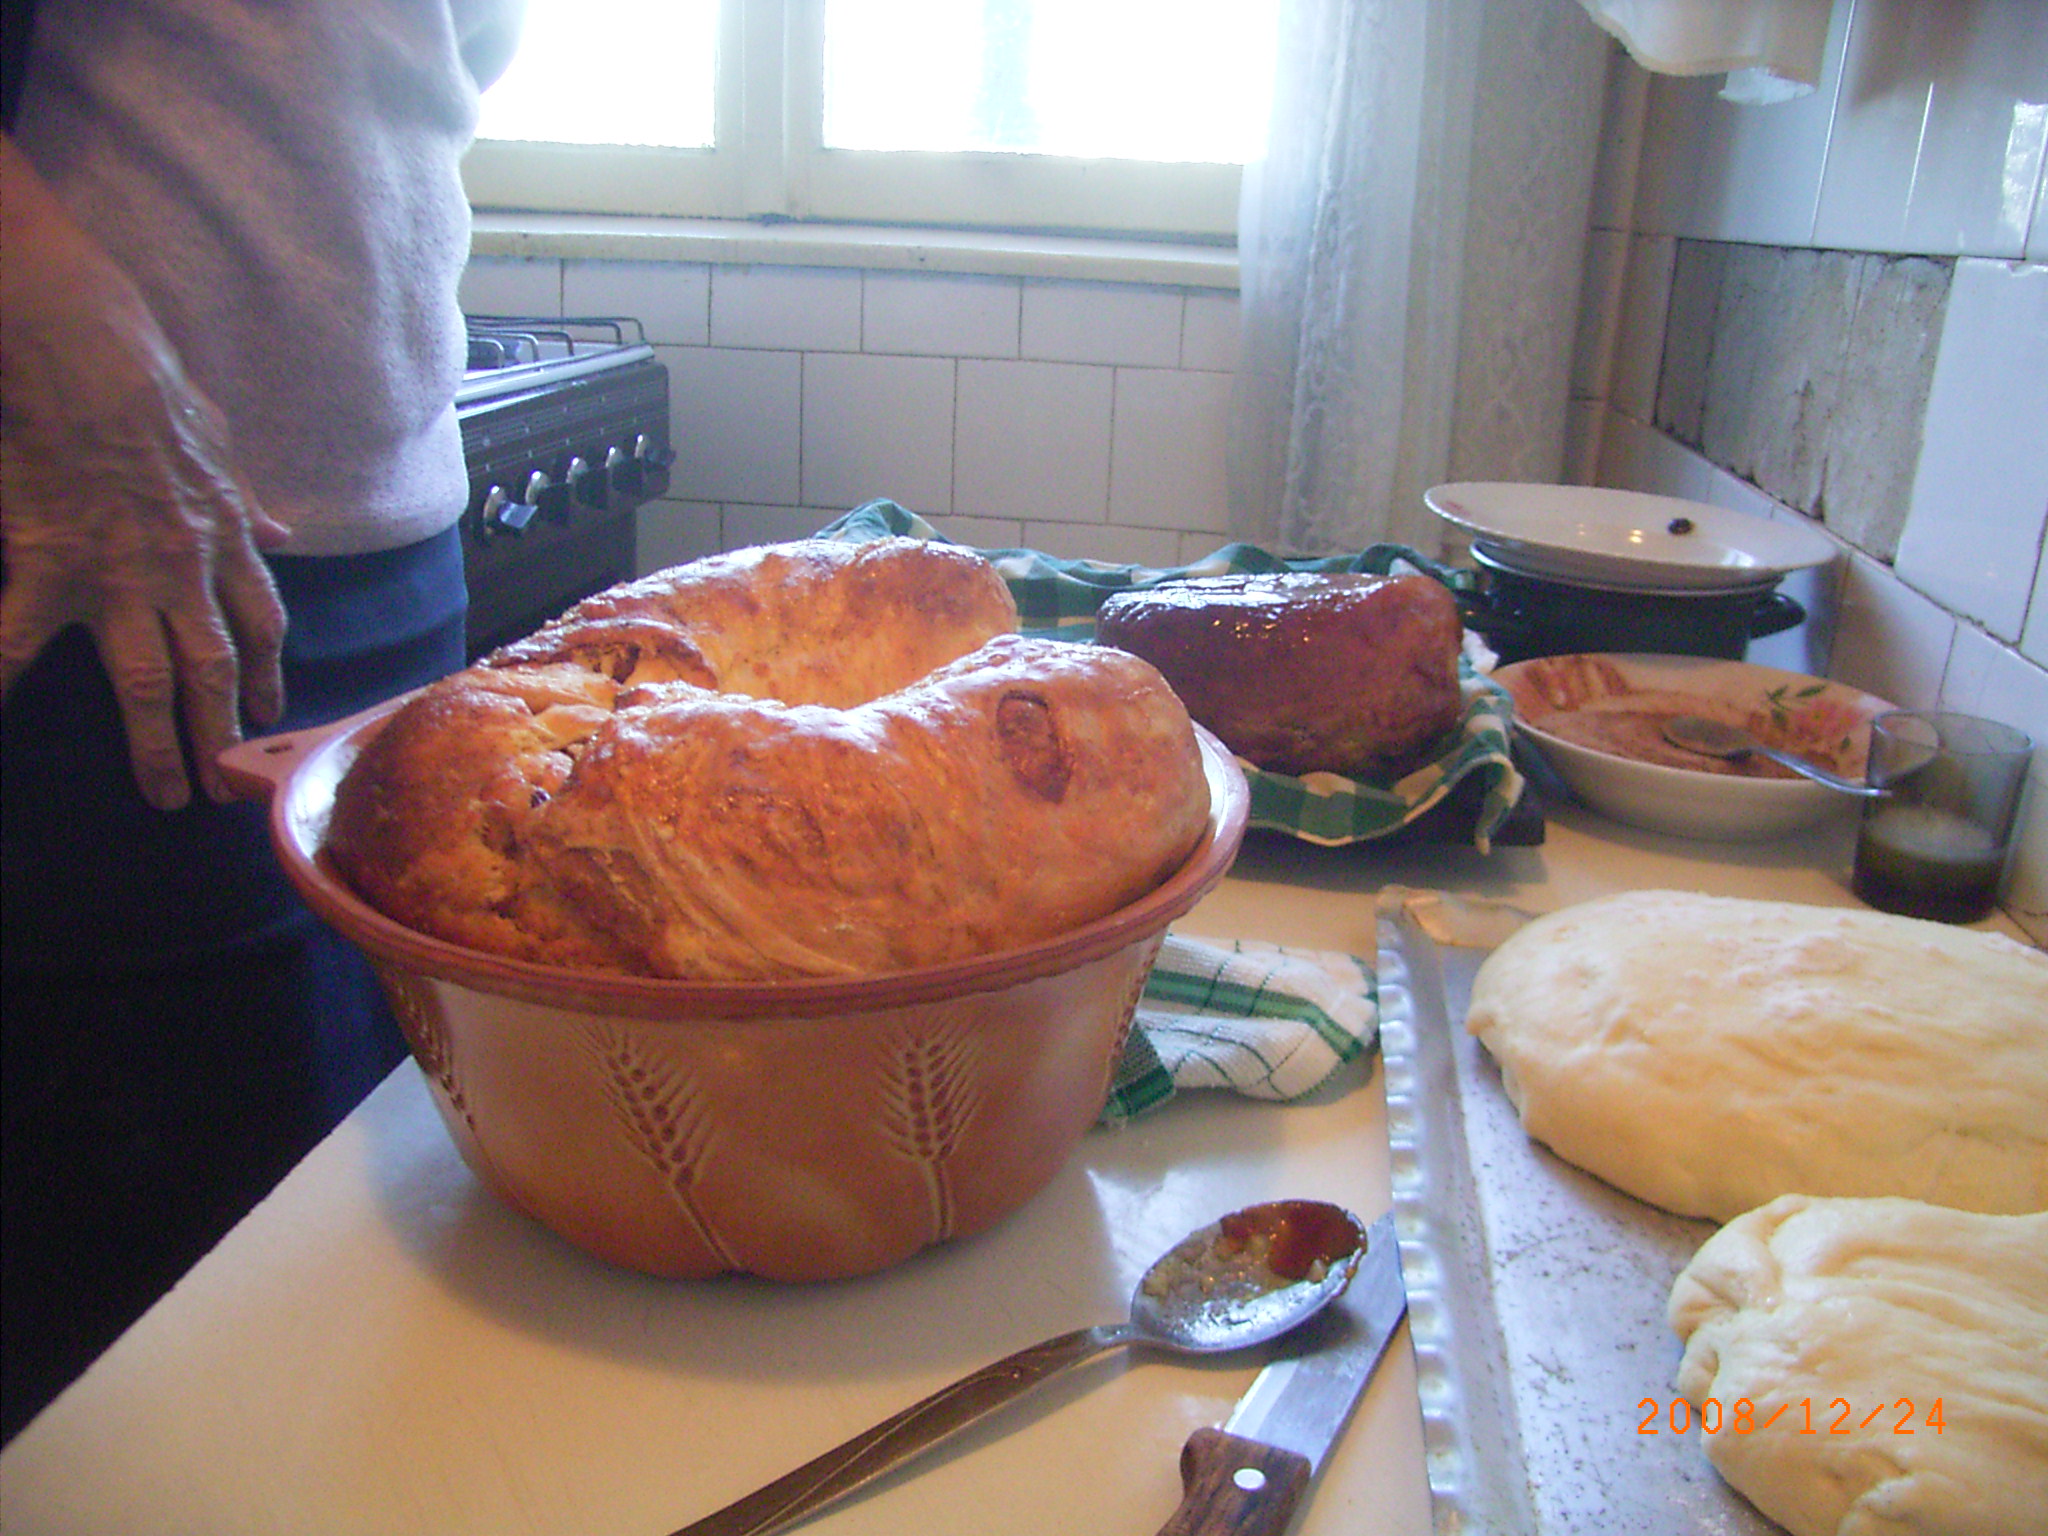
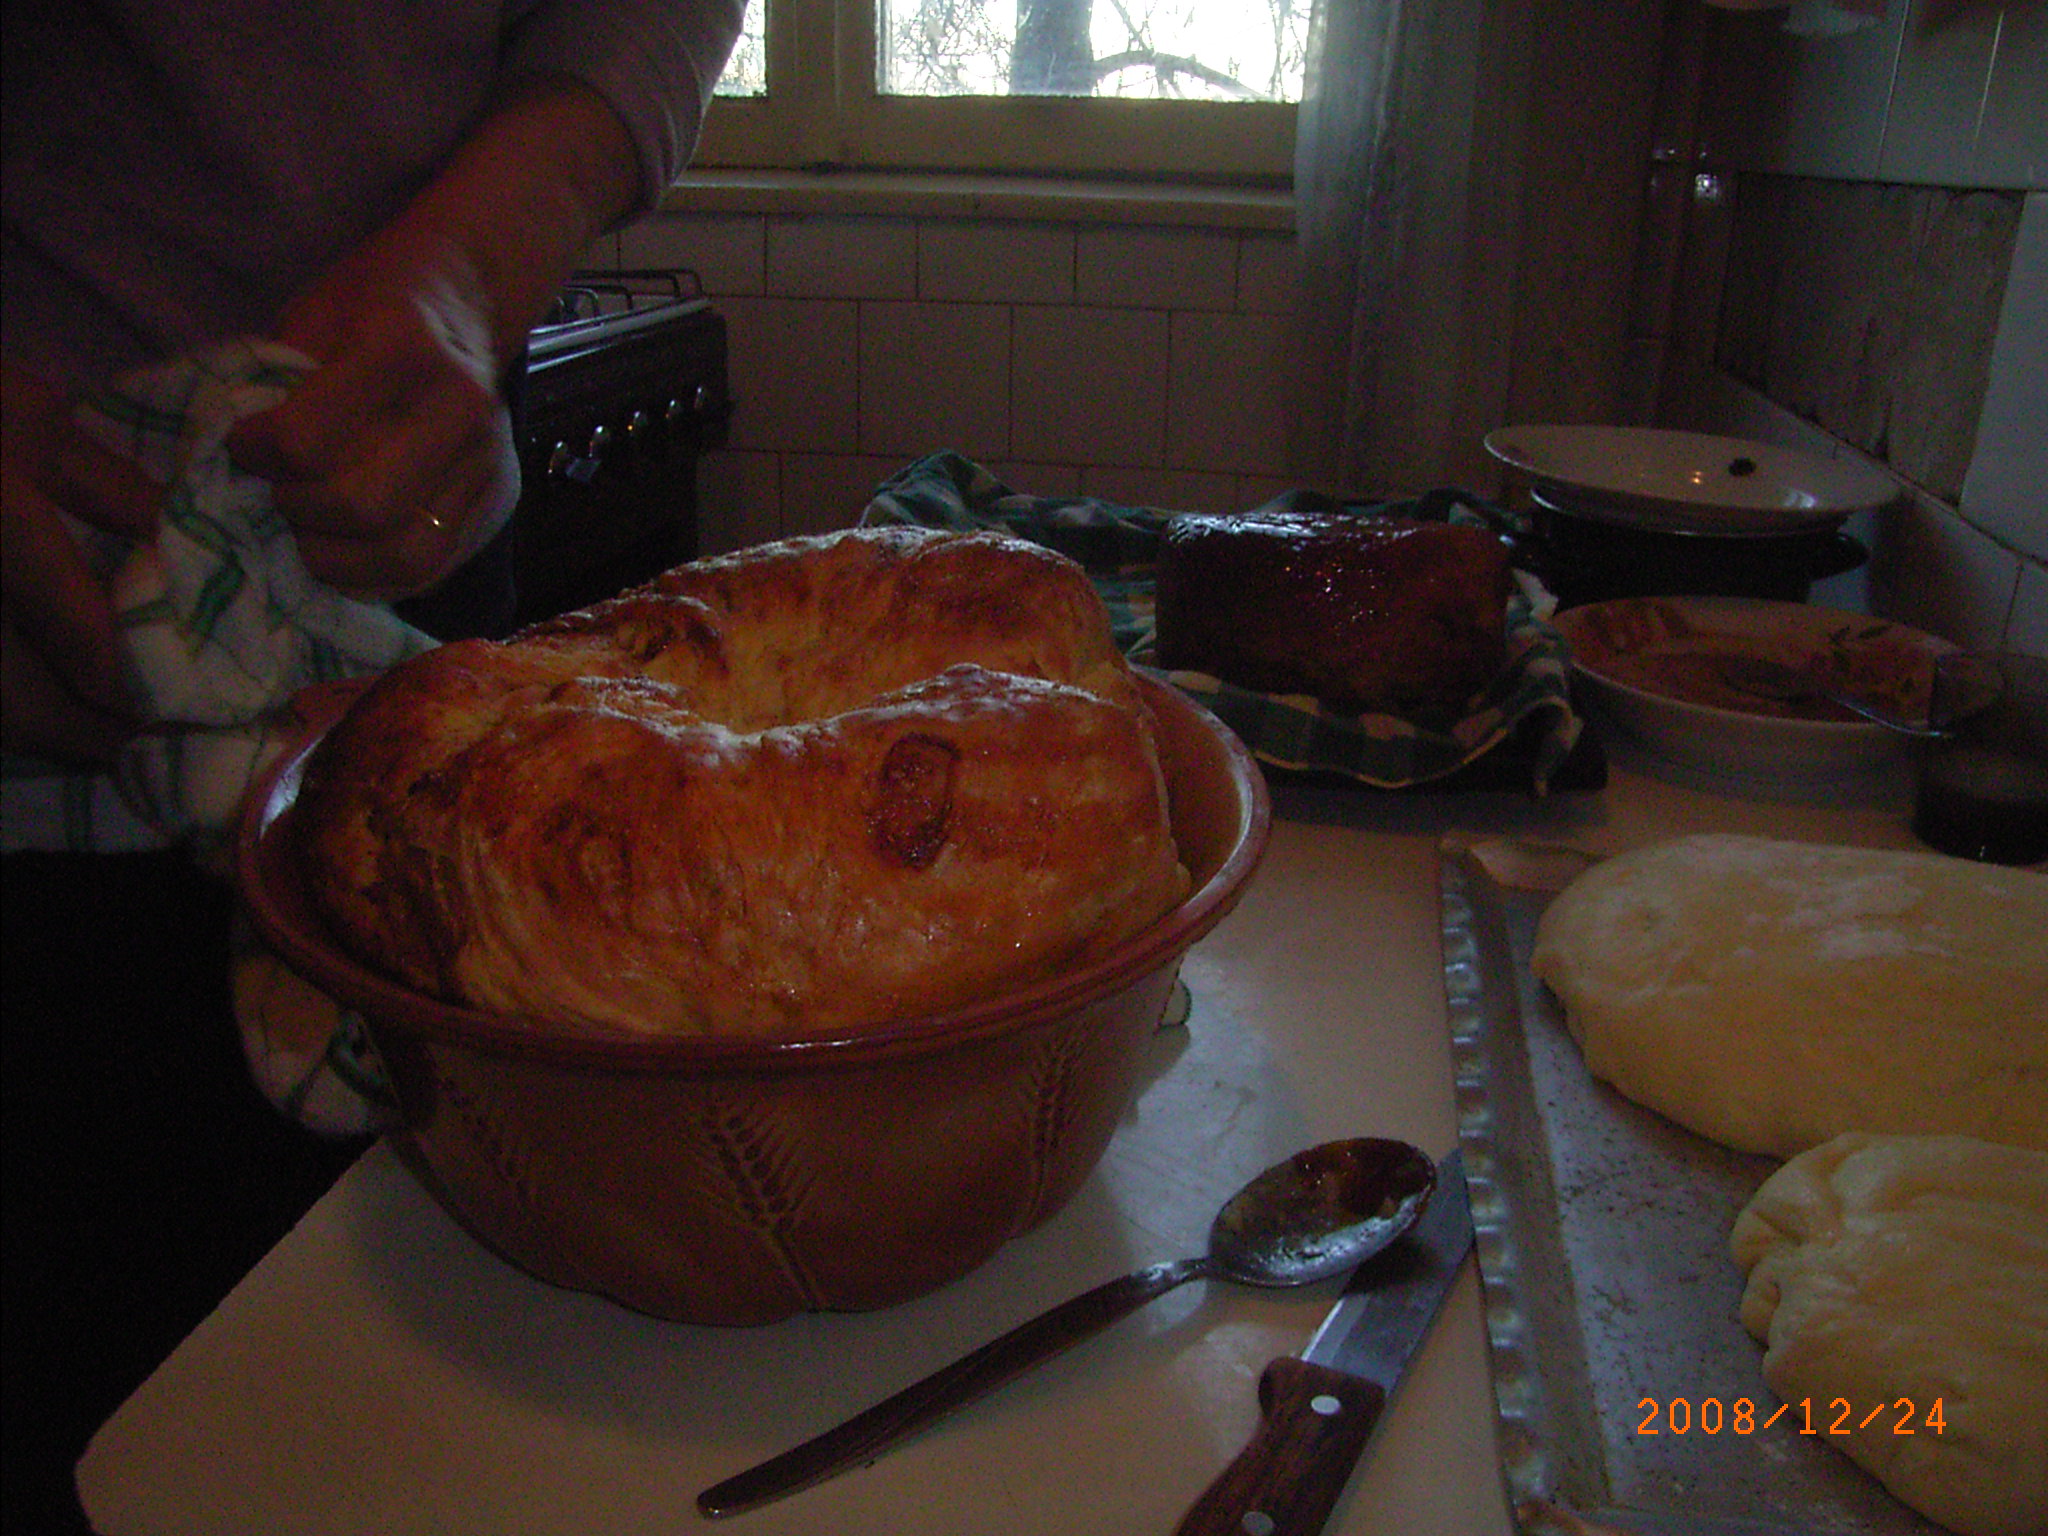
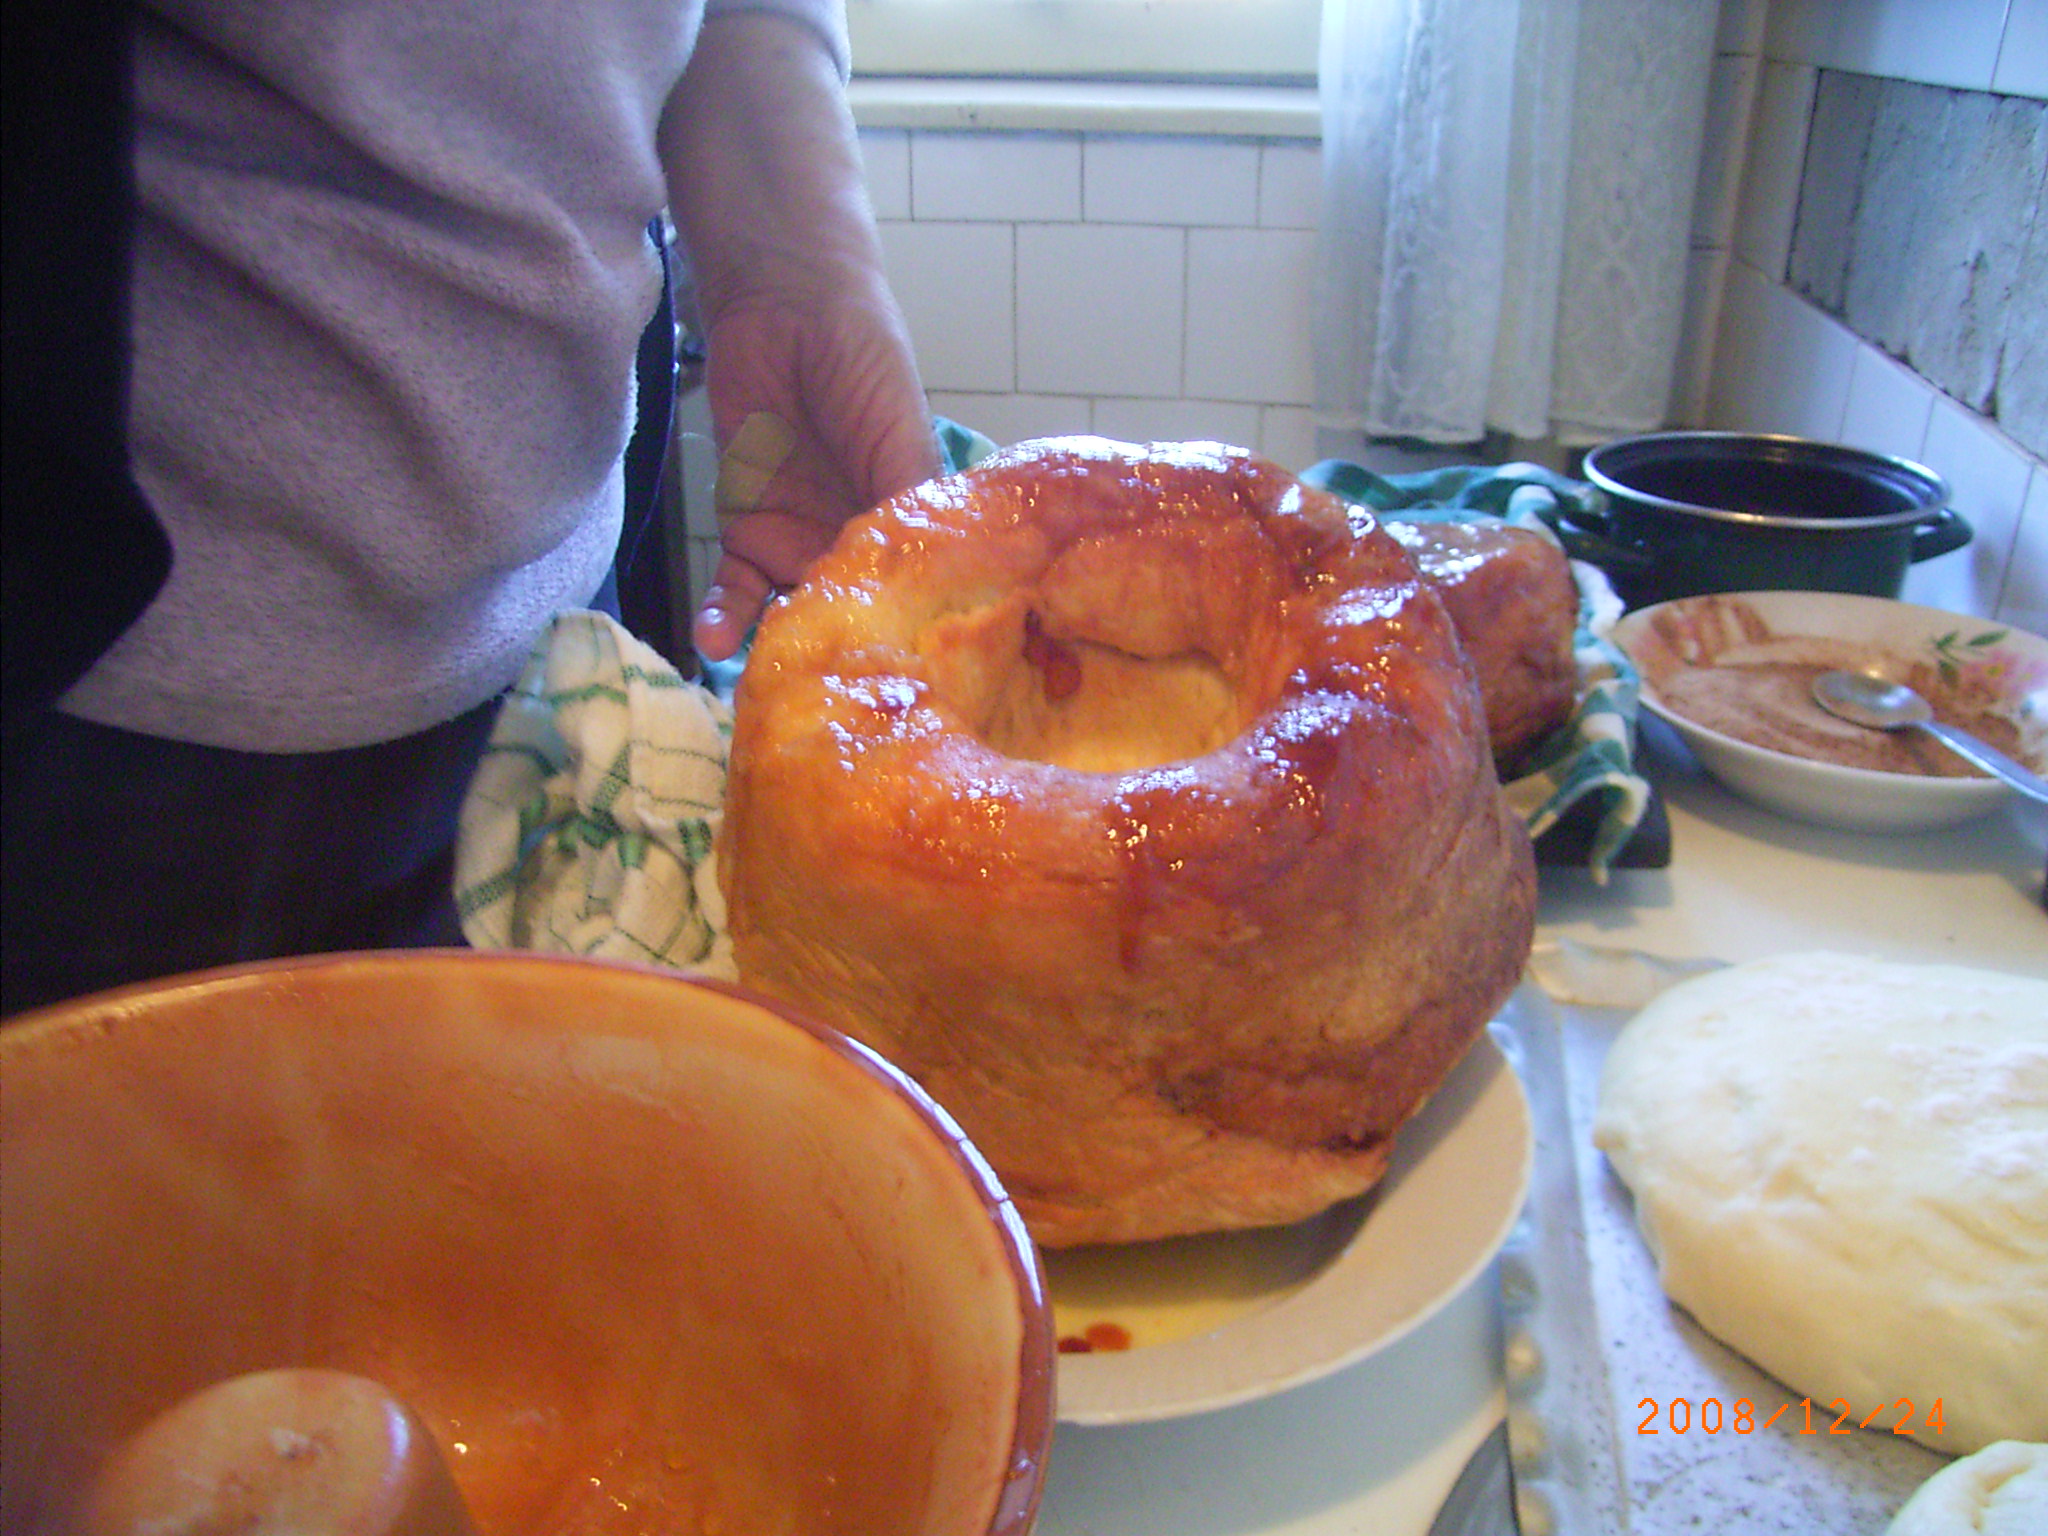
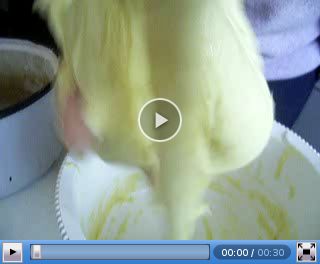
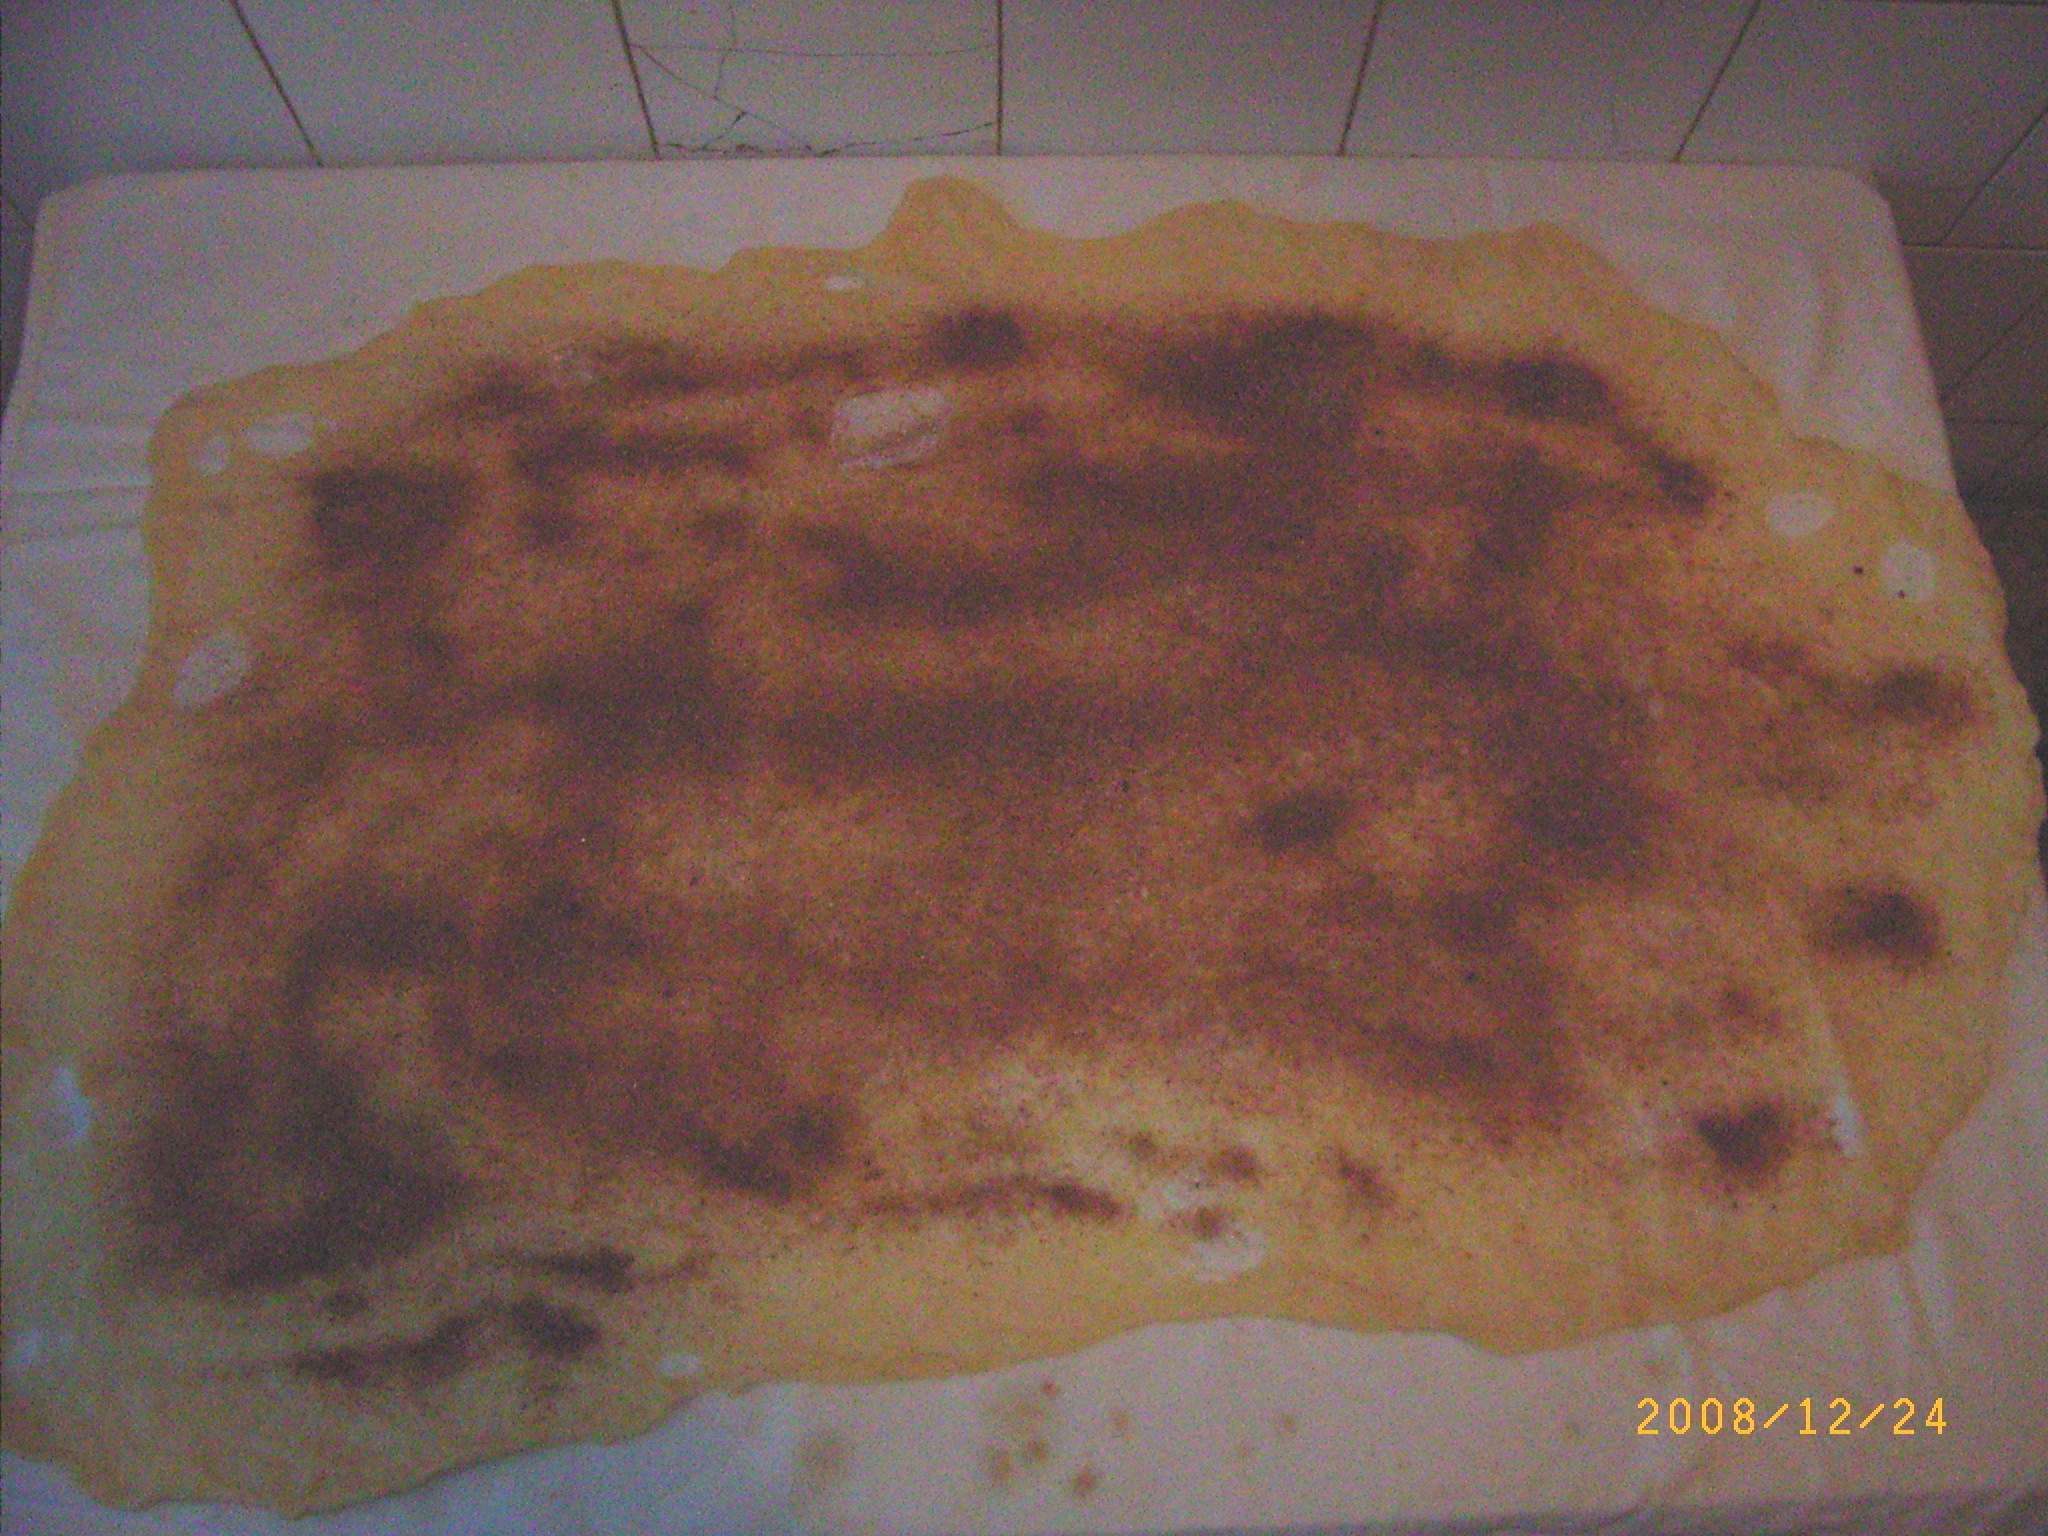
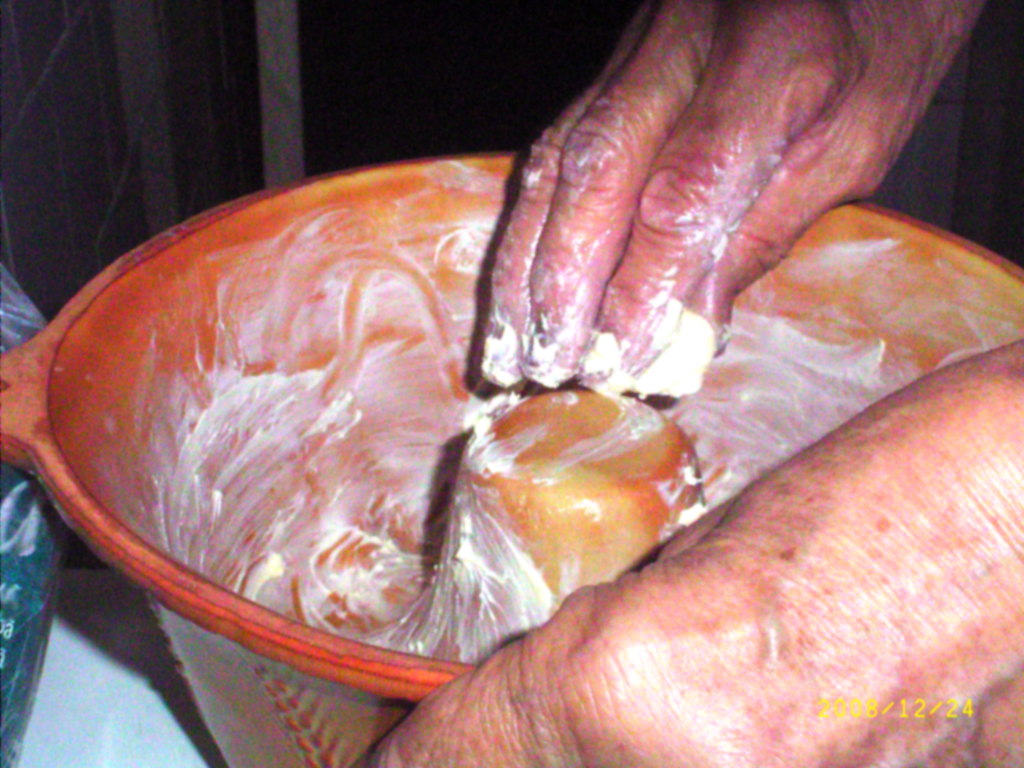
After the swelling period the dough must be ripped out of the dish where it was left to swell. When we are ripping it out we can also divide it in multiple pieces, depending on the number and the size of our cooking dishes. From this dough i made two cakes: one smaller one, and one bigger. The dough must use up approximately half of the cooking dish, because during cooking the dough will swell much more. While we are ripping the dough out we need to oil the dough and our hands with melted butter so that the dough doesn't stick to the hands. The dough is placed on a tray, we sprinkle a little flour on to of the dough, and we leave it to rest for 15-20 minutes, until the dough will start to swell a little bit on the tray too. (We can see two cakes [coming from one original dough] resting on the K1 pictures in the corner).
Stretching and folding the dough
K4/1: On the tablecloth we sprinkle some flour • K4/2: The stretched dough • K4/3: The dough after we sprinkle the first round of cinnamon and sugar on it • K4/4: We are rinsing the folded dough with melted butter • K4/5: Here we grease the dish in which we are going to cook the kalács • K4/6: Here we can see another dough in another greased dish.
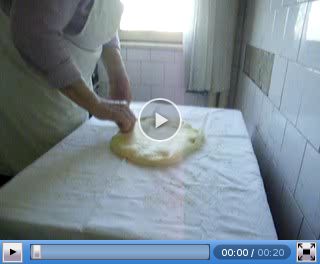
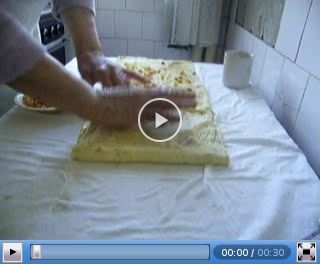
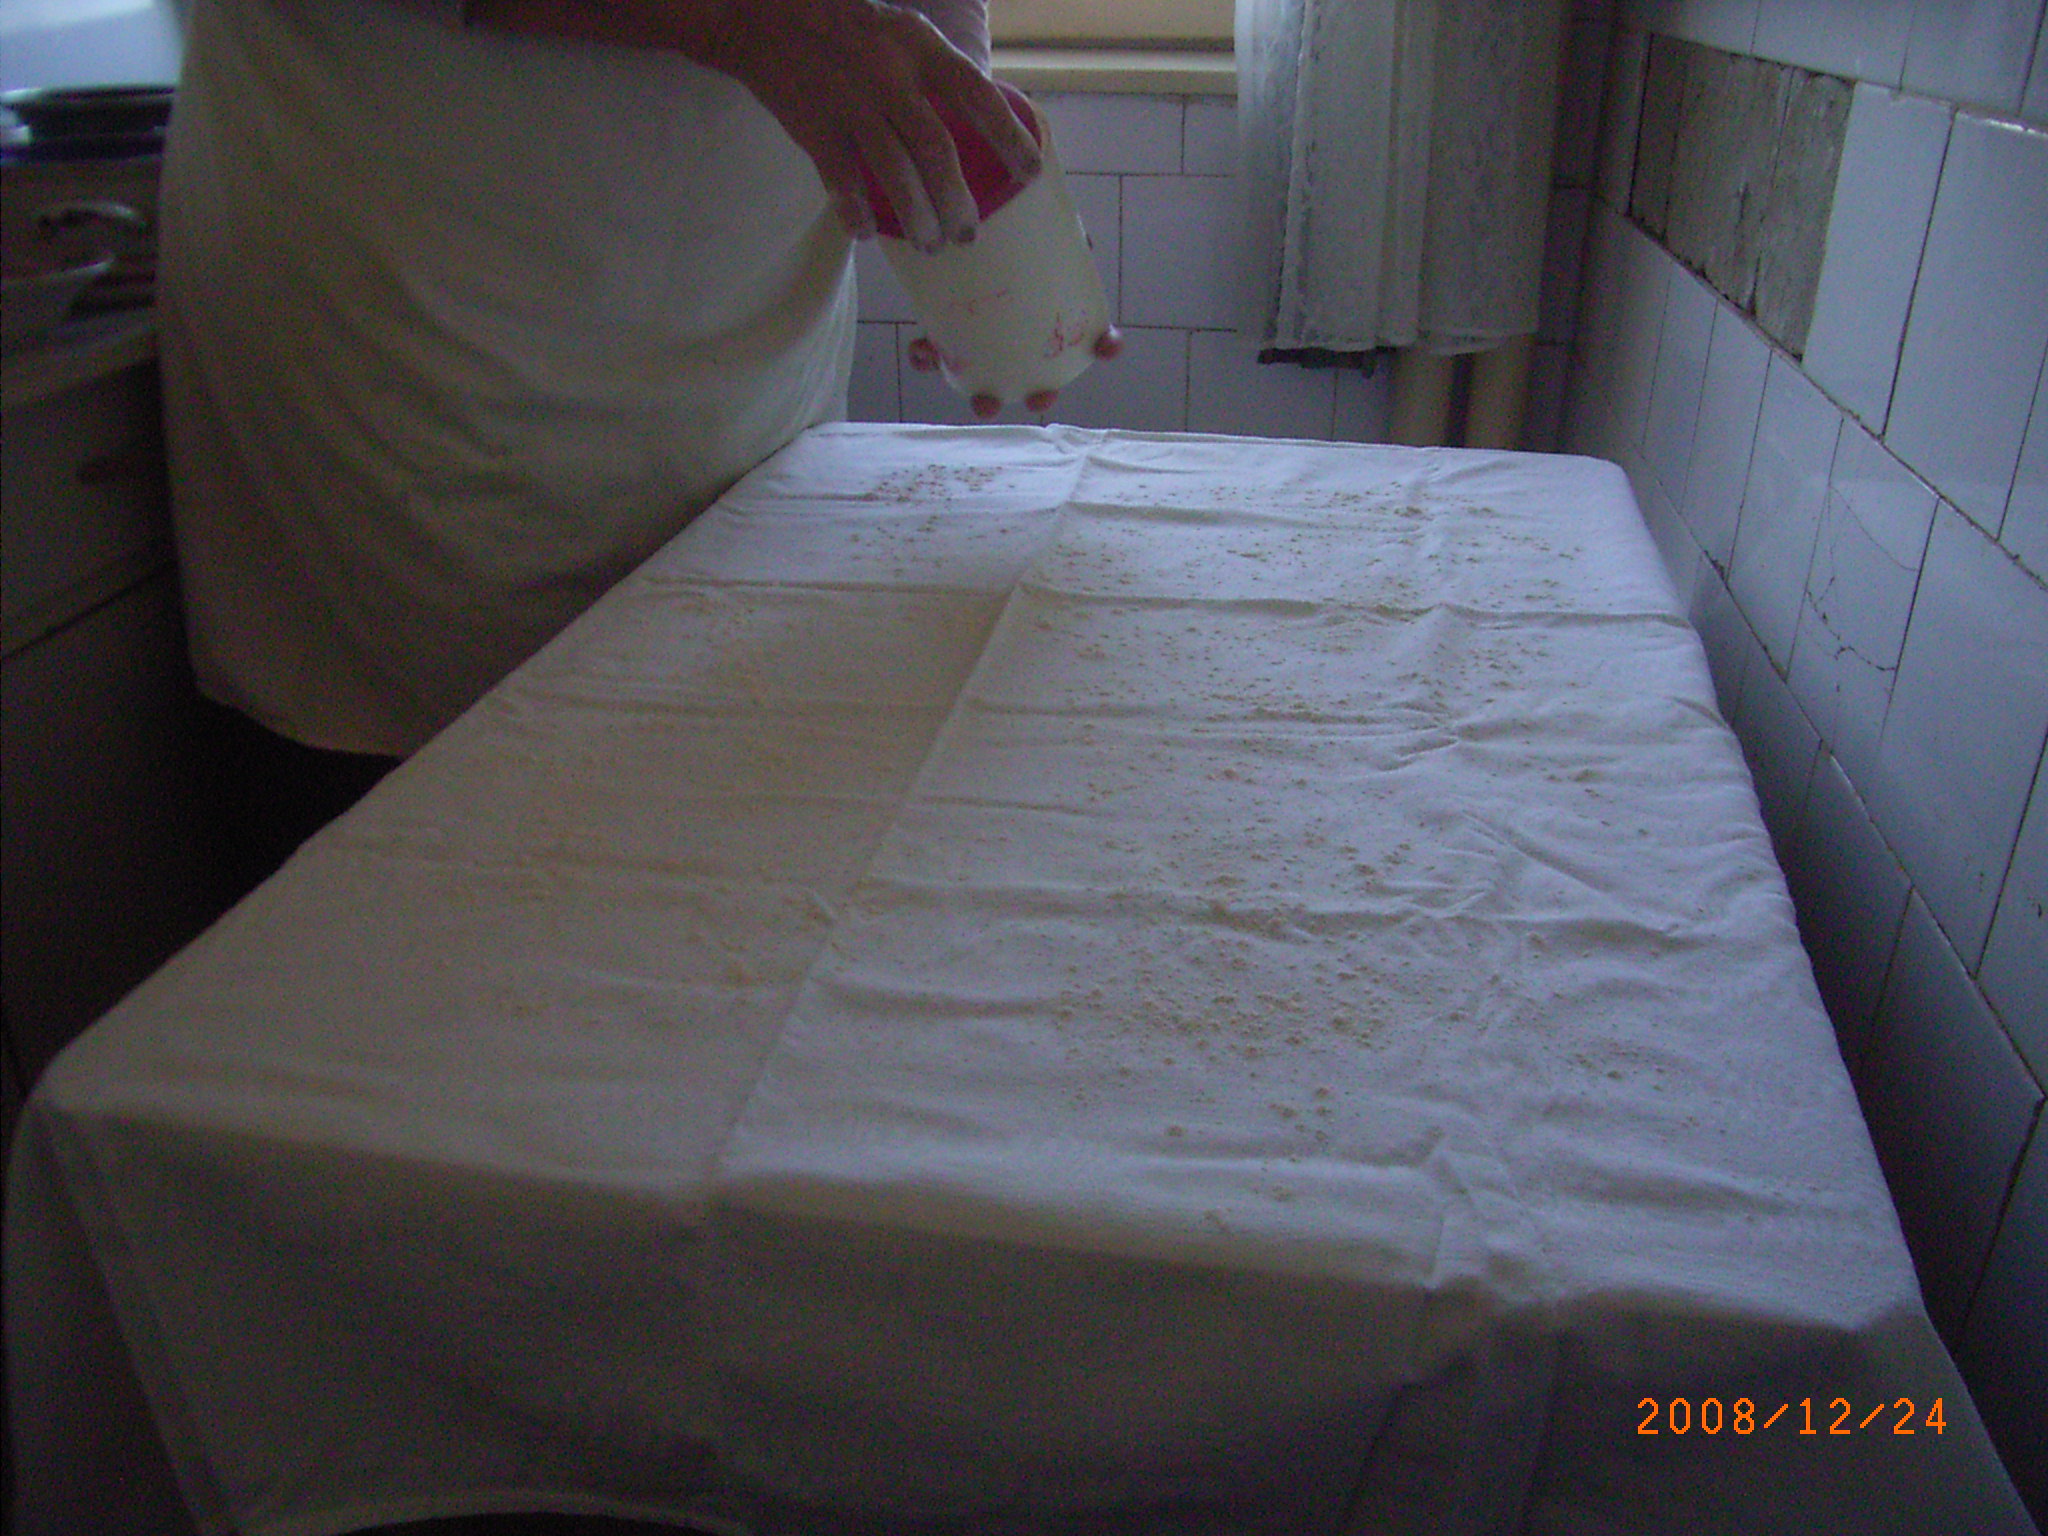
For the stretching of the dough we place a clean tablecloth on the table, and we sprinkle flour over it, so that the dough doesn't stick to it (K4/1). The stretching/flattening of the dough should NOT be done with a rolling pin! The dough must be stretched manually with your hands, from each direction in a circle, using small pulling movements. While doing the small pulling movements with one hand you can raise the edge of the dough, and with the other hand you can go in under the dough, and with up-movements you can make thinner some selected parts of the dough.
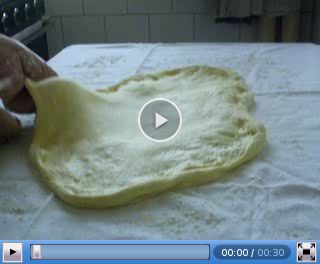
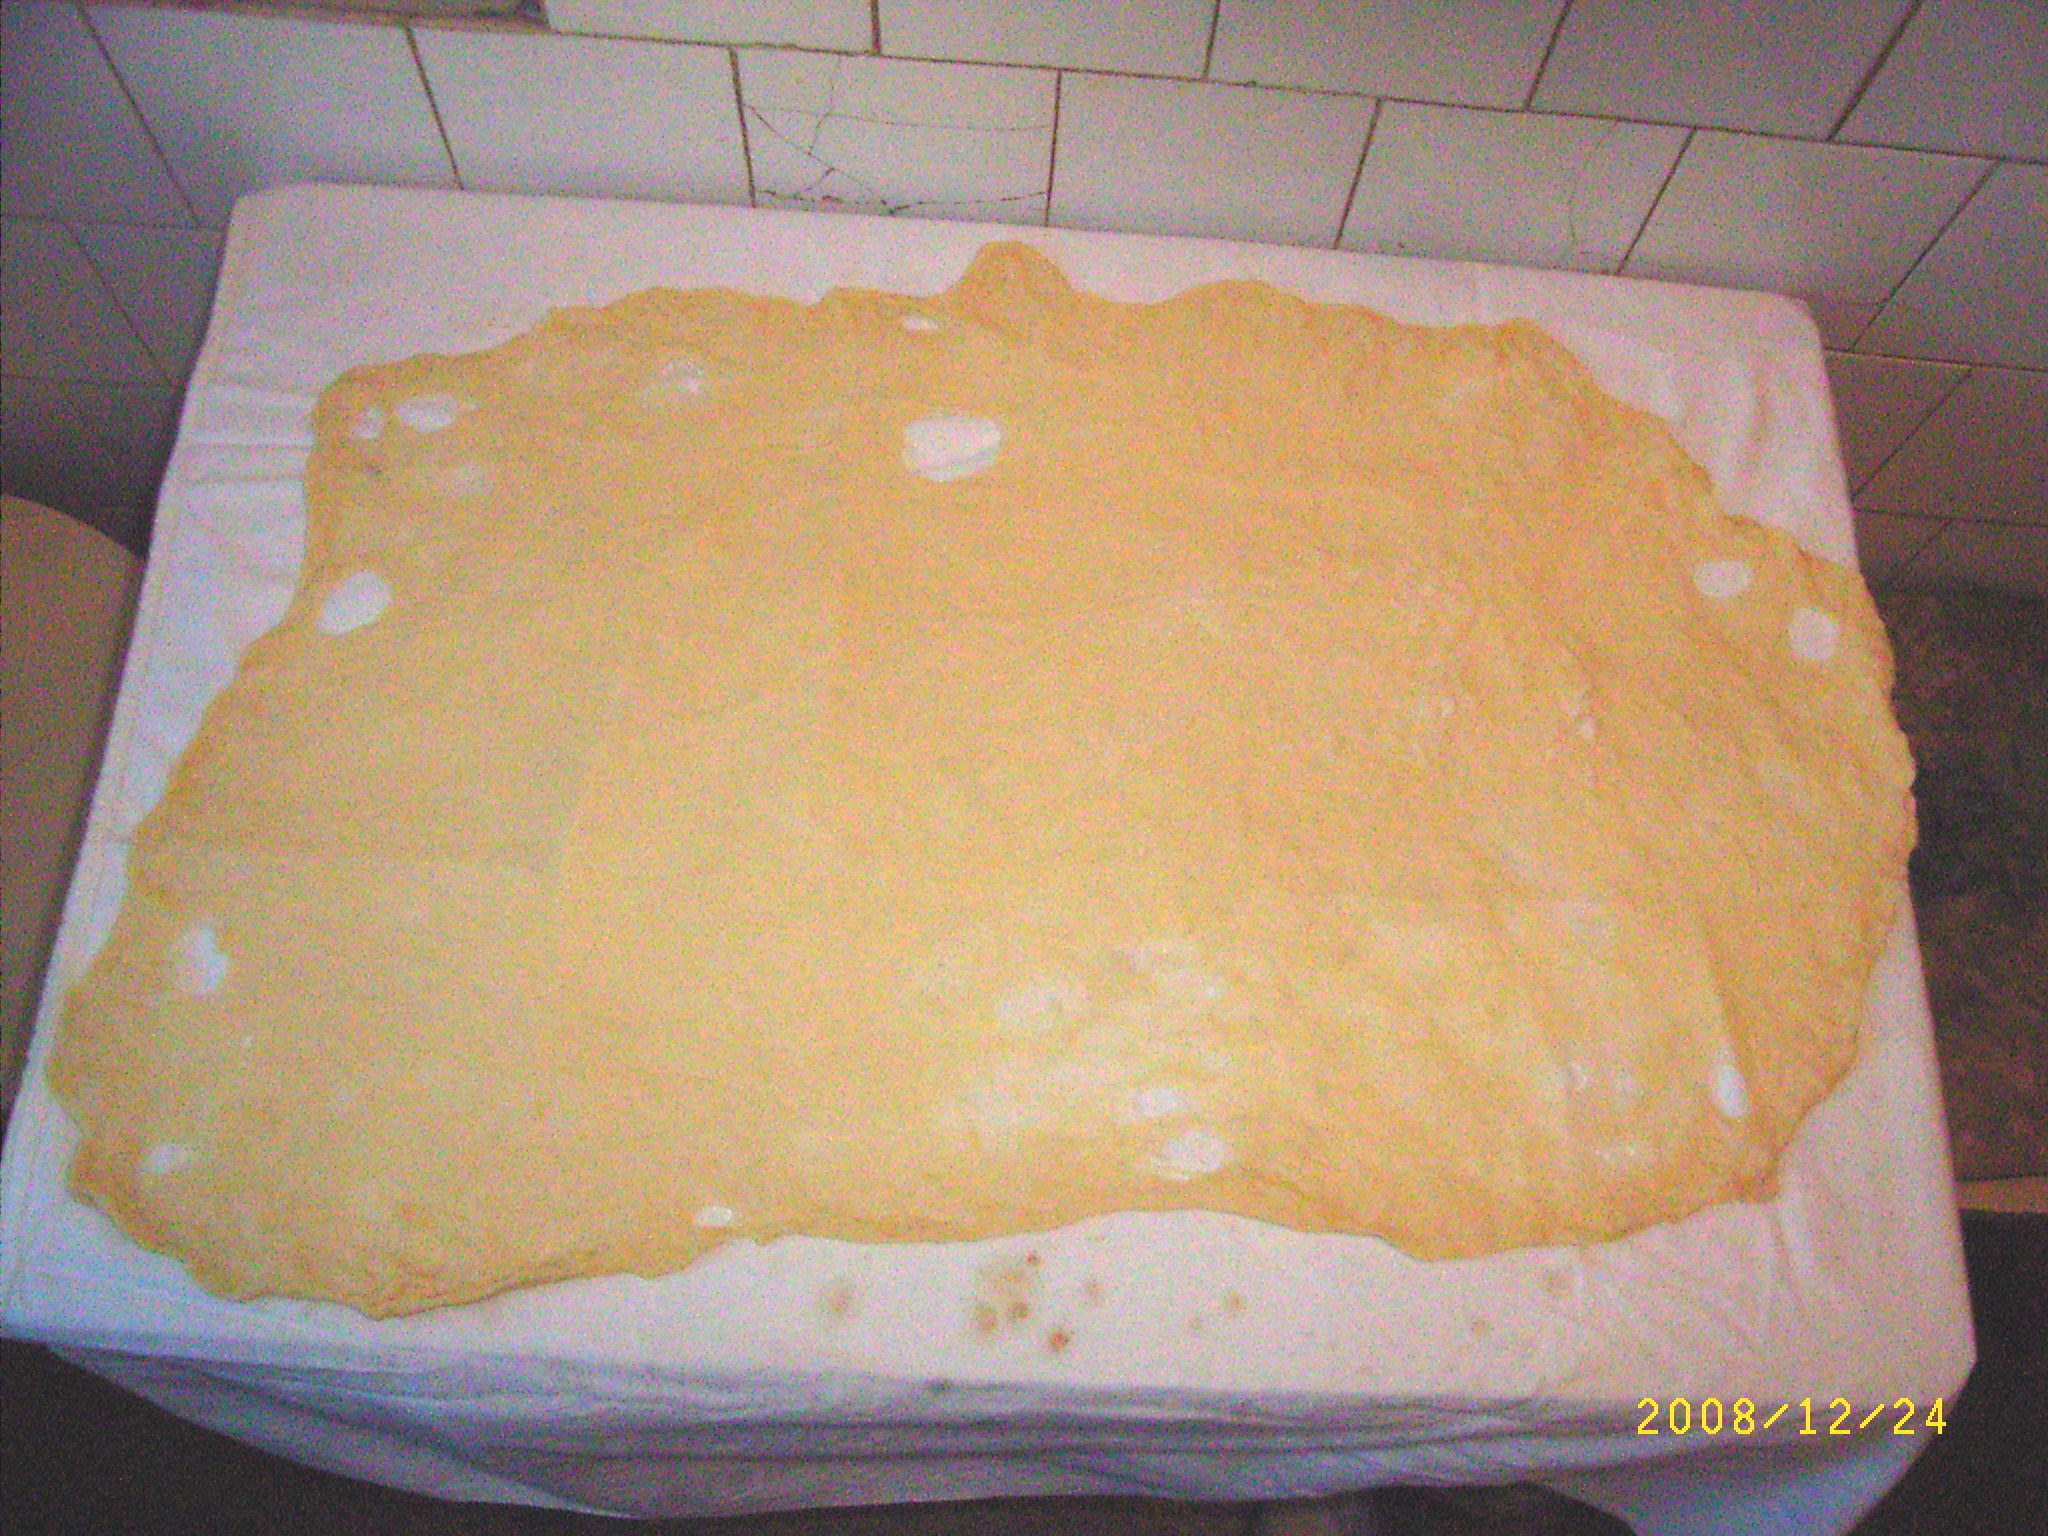
Initially when the dough is still thick, you can stretch with more aggressive movements, but as the surface of the dough is increasing, and the thickness is decreasing, we need to be more and more careful not to tear the dough. A few holes in the dough is not the end of the world, but we need to try to minimise the number of holes. We need the stretch the dough as much as possible, or until the size of the table lets us. (K4/2). The higher the surface of the dough is, the more tasty cinnamon sugar, and raisins we can put in it. The stretching technique can be seen on the V4 and V5 videos.
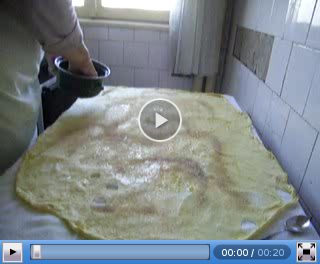
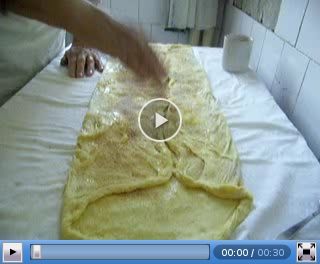
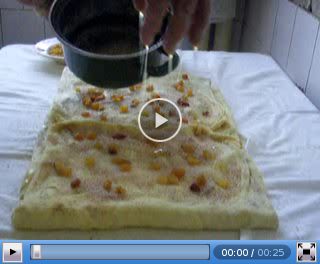
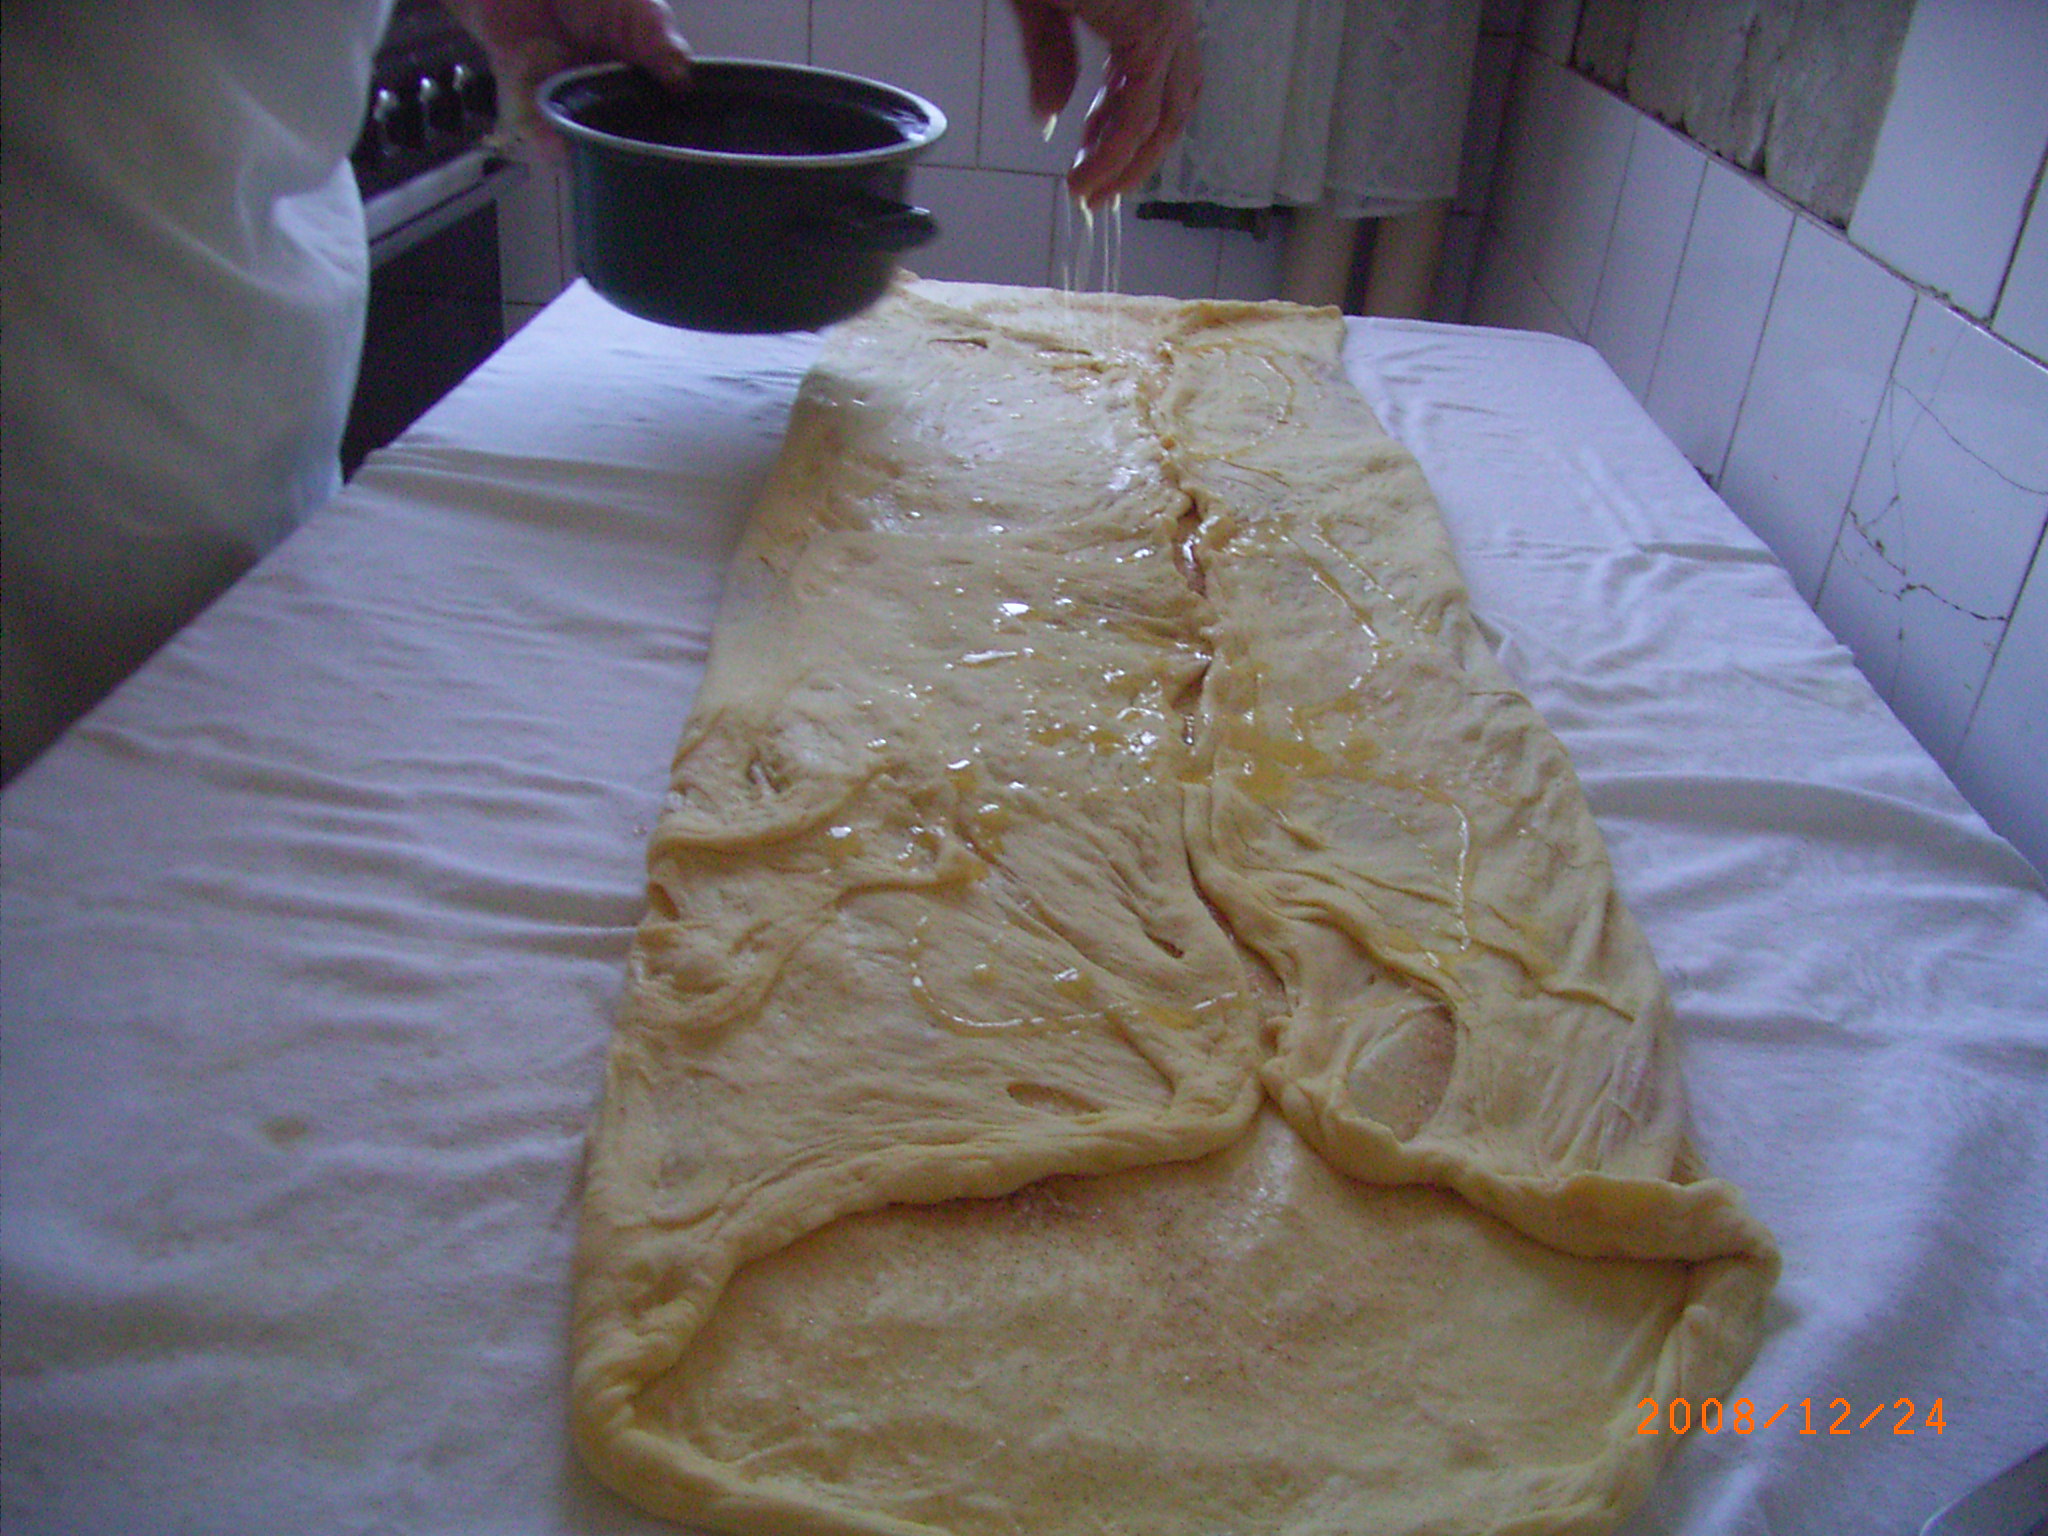
After stretching the dough we need to scatter the first round of sugar with cinnamon (K4/3). The dough needs to be sprinkled with melted butter. We insert our hand in the melted butter, and then we sprinkle the dough uniformly, just as you can see on the V6 video. During the first round we don't put any raisins into the dough yet. After this we fold the dough from two opposite sides, just as seen on the K4/4 picture, and the V7 video. We rinse it again with melted butter, and we scatter on it sugar with cinnamon. This time we also scatter on it some raisins.
As a next step we fold the dough again from two opposite directions, but this time we do it inversely, just as shown in the V9 video. We scatter again with sugar with cinnamon, raisins, and sprinkle it with melted butter. After that we curl up/roll up the dough as shown in the V10 video. We bend the rolled up dough into a circle form that will fit well into the cooking dish.
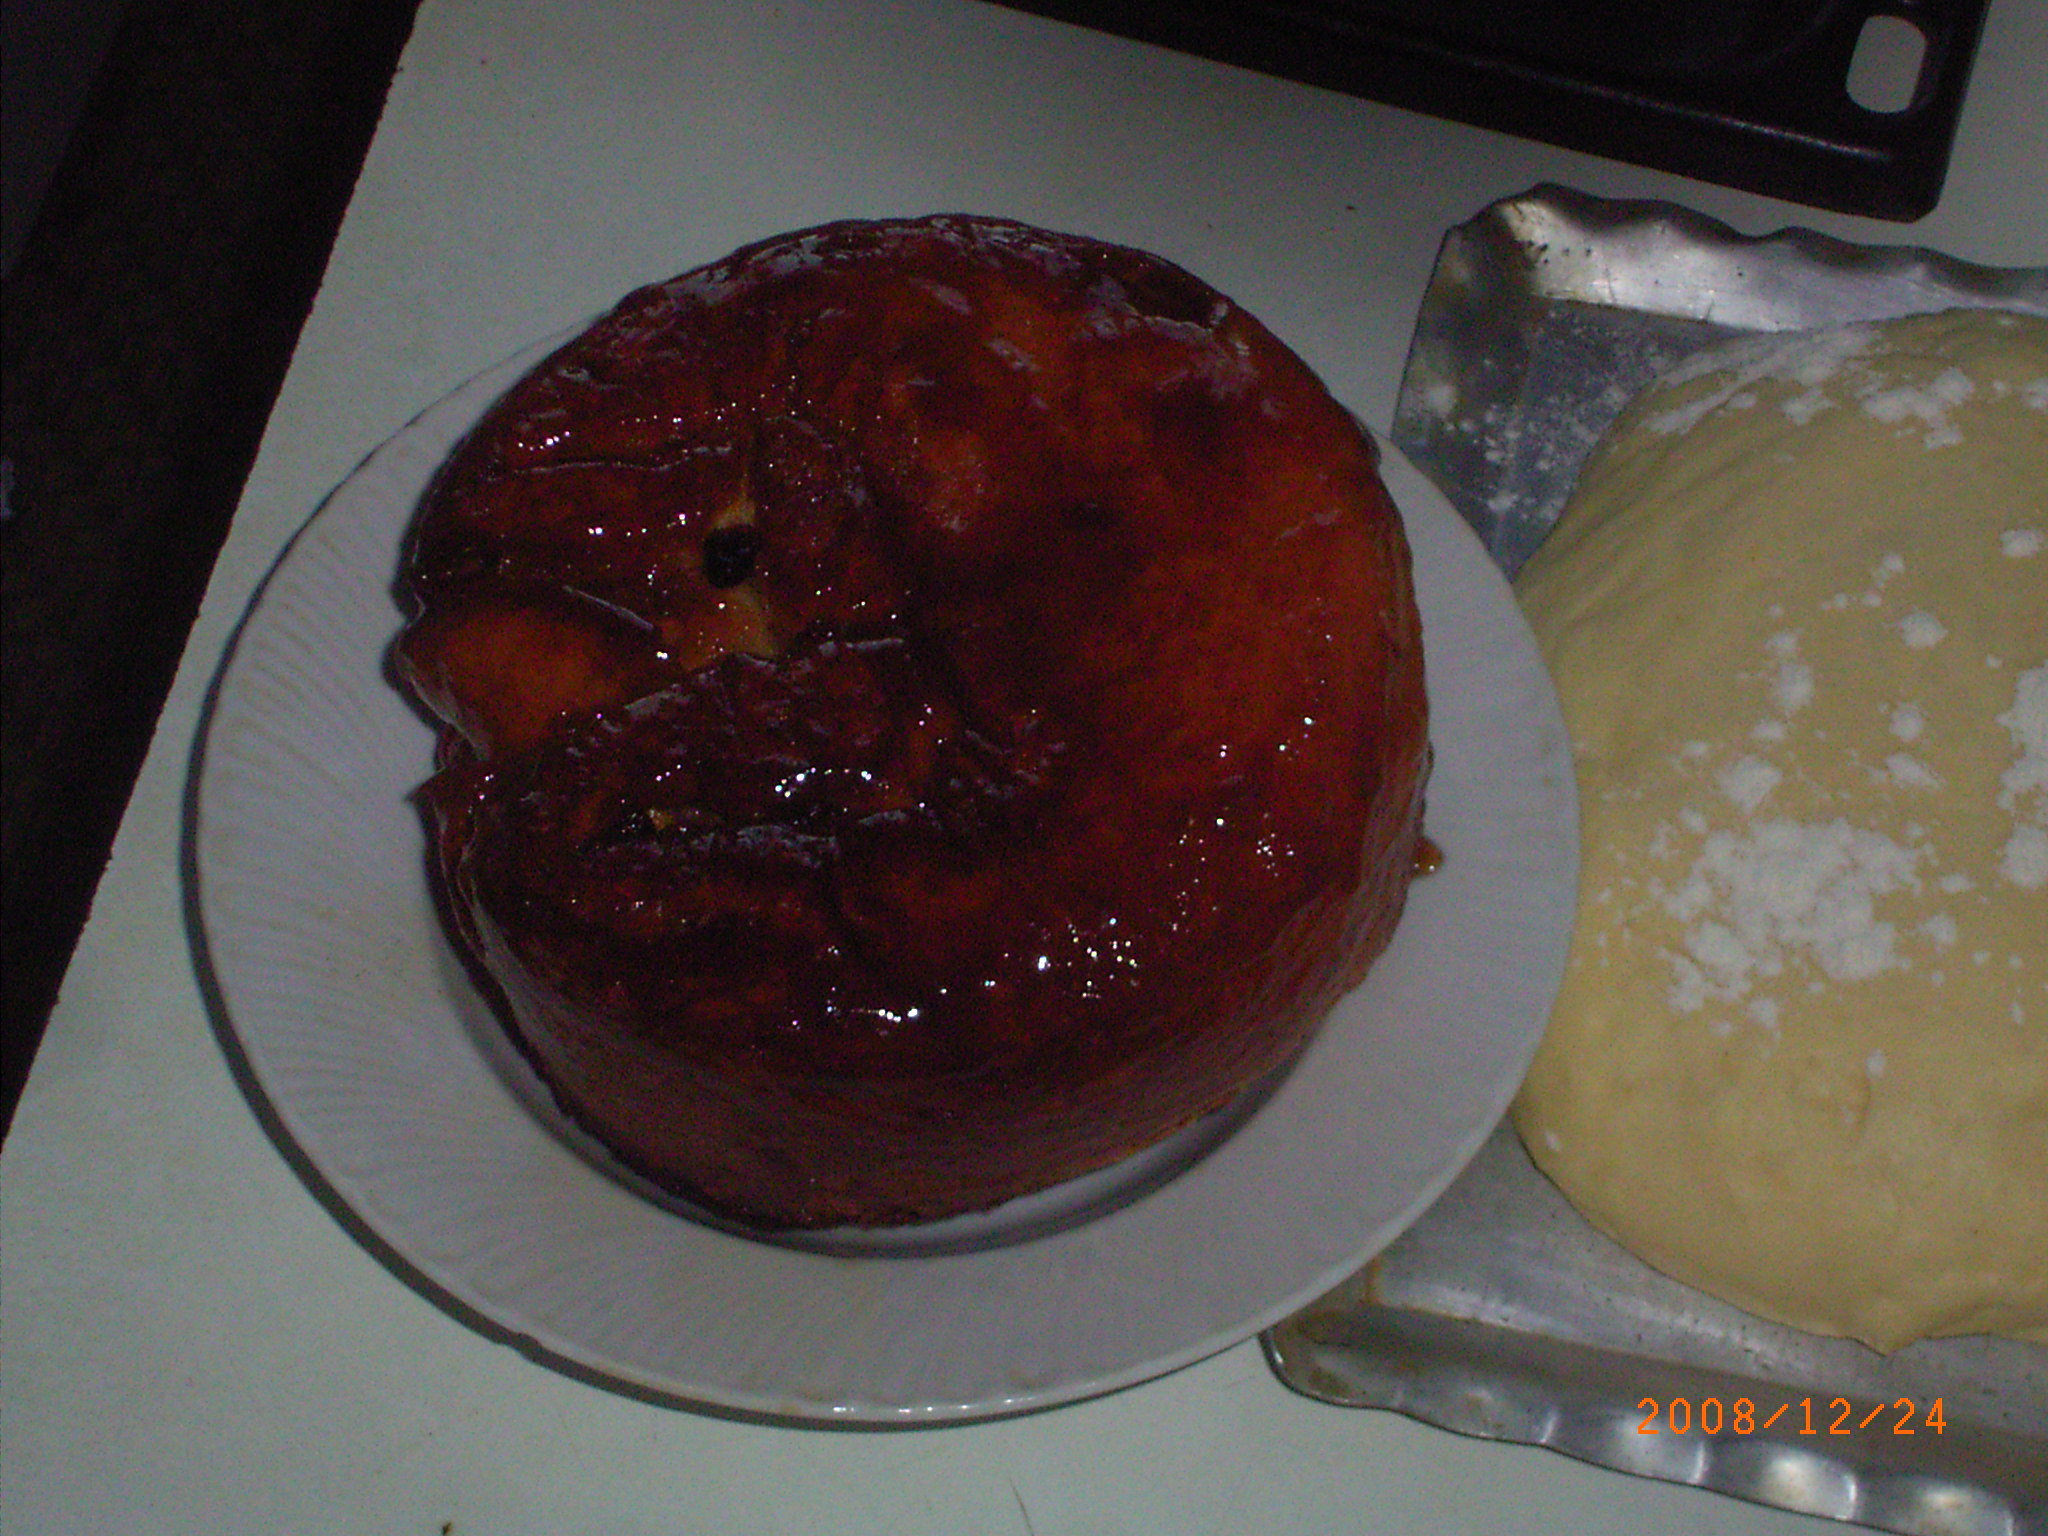
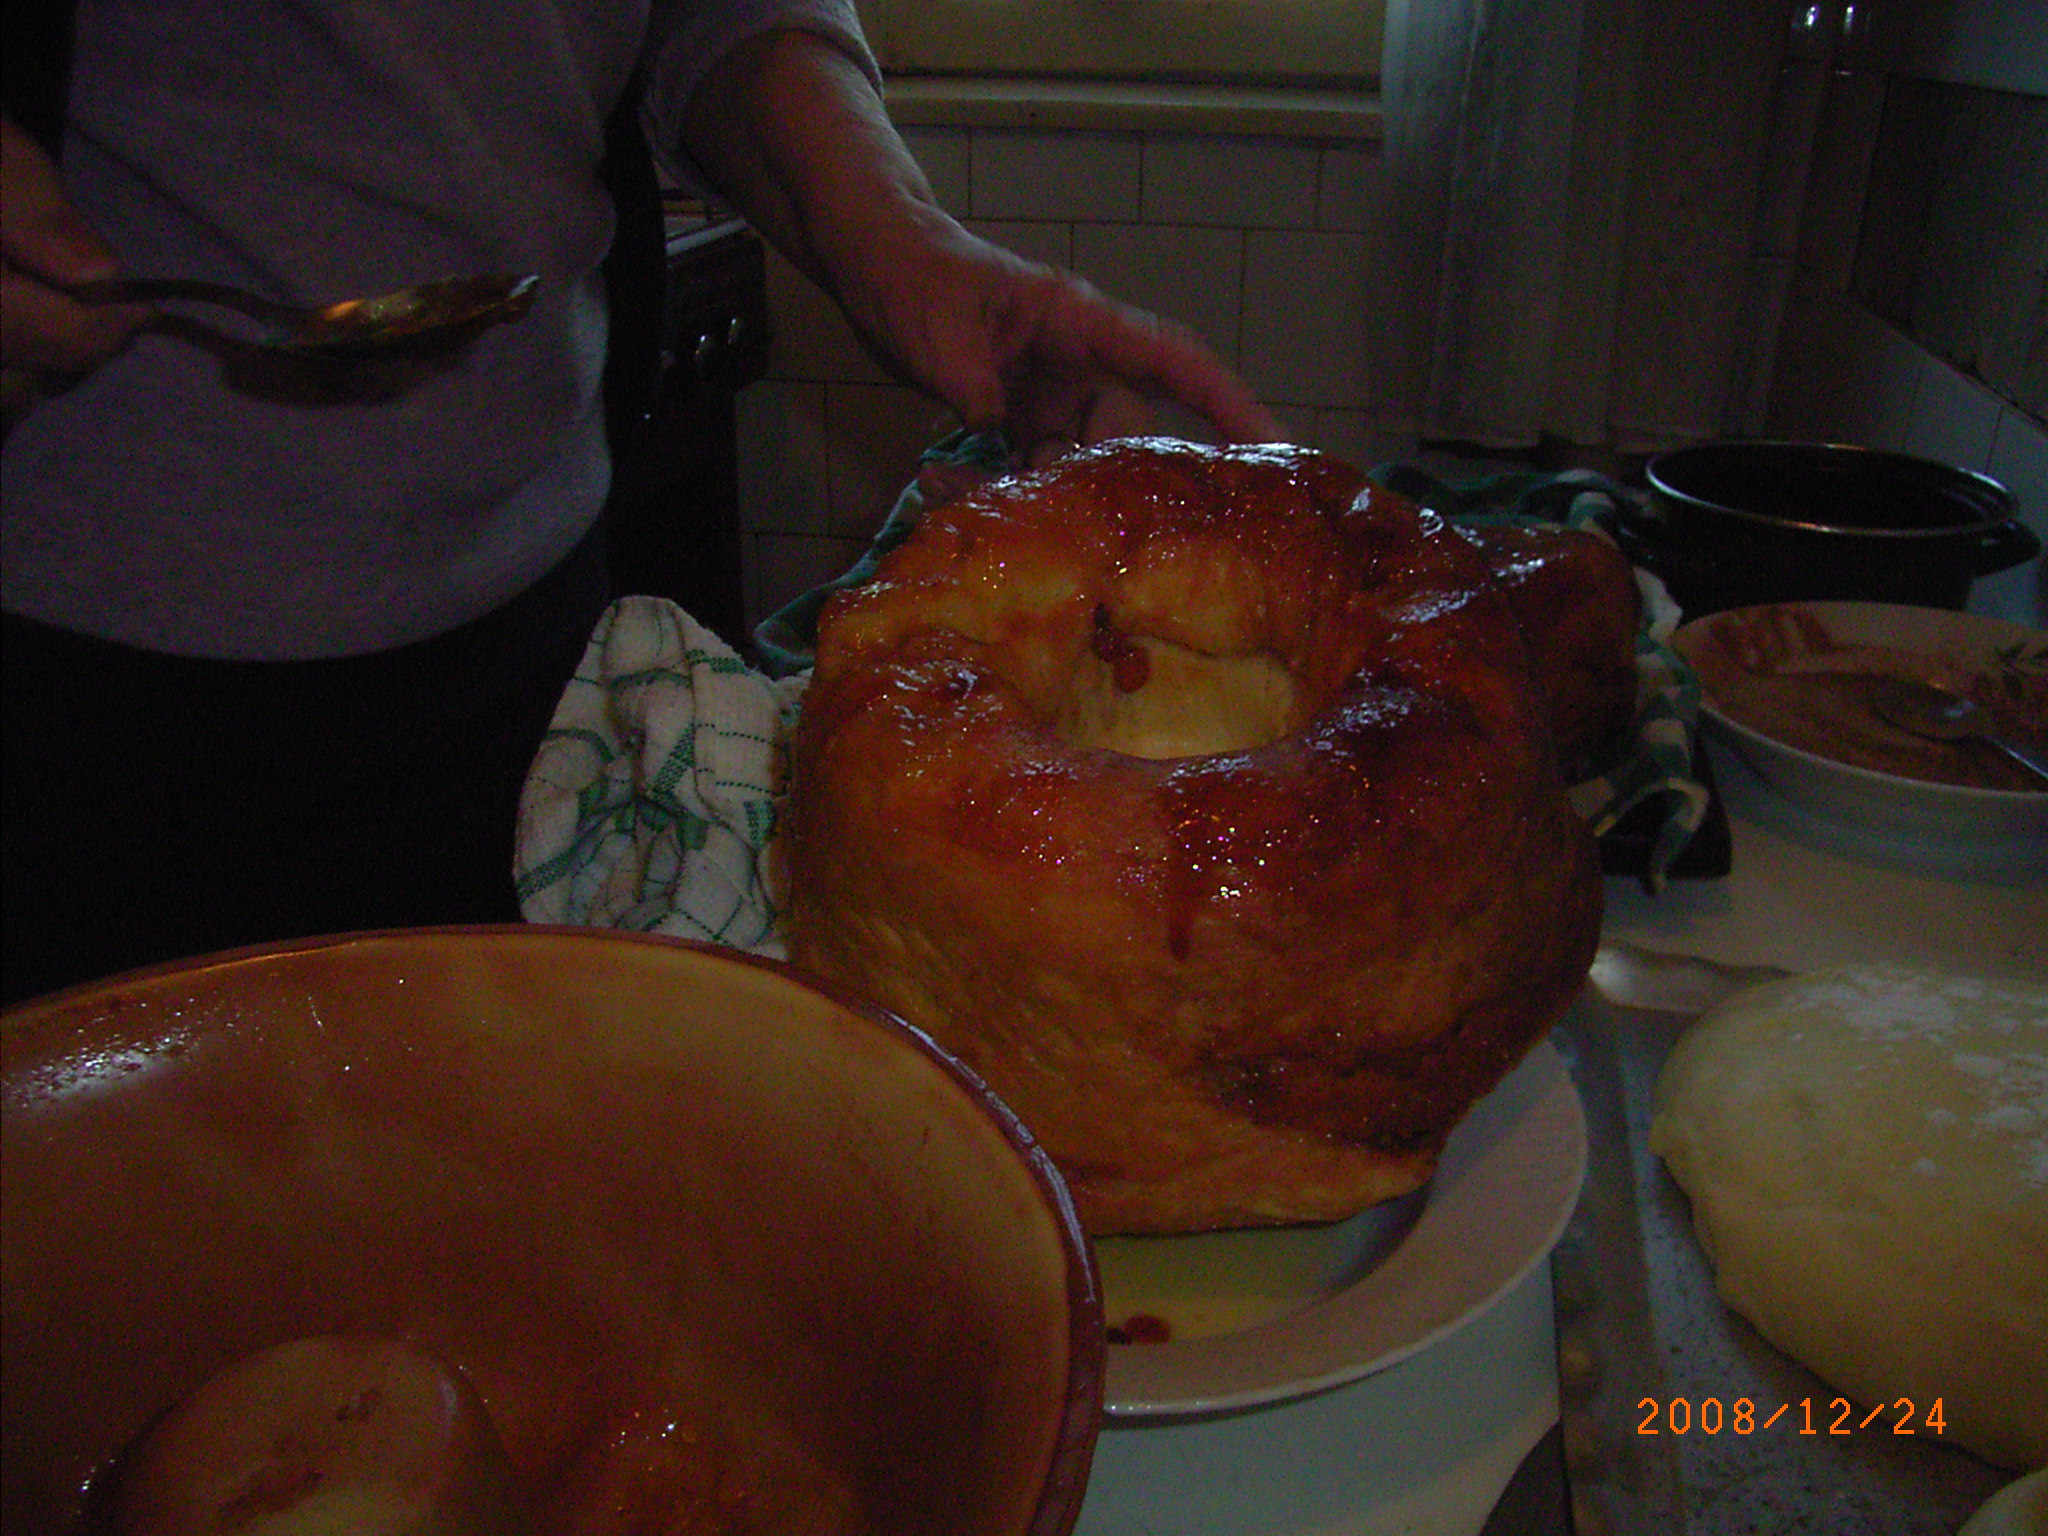
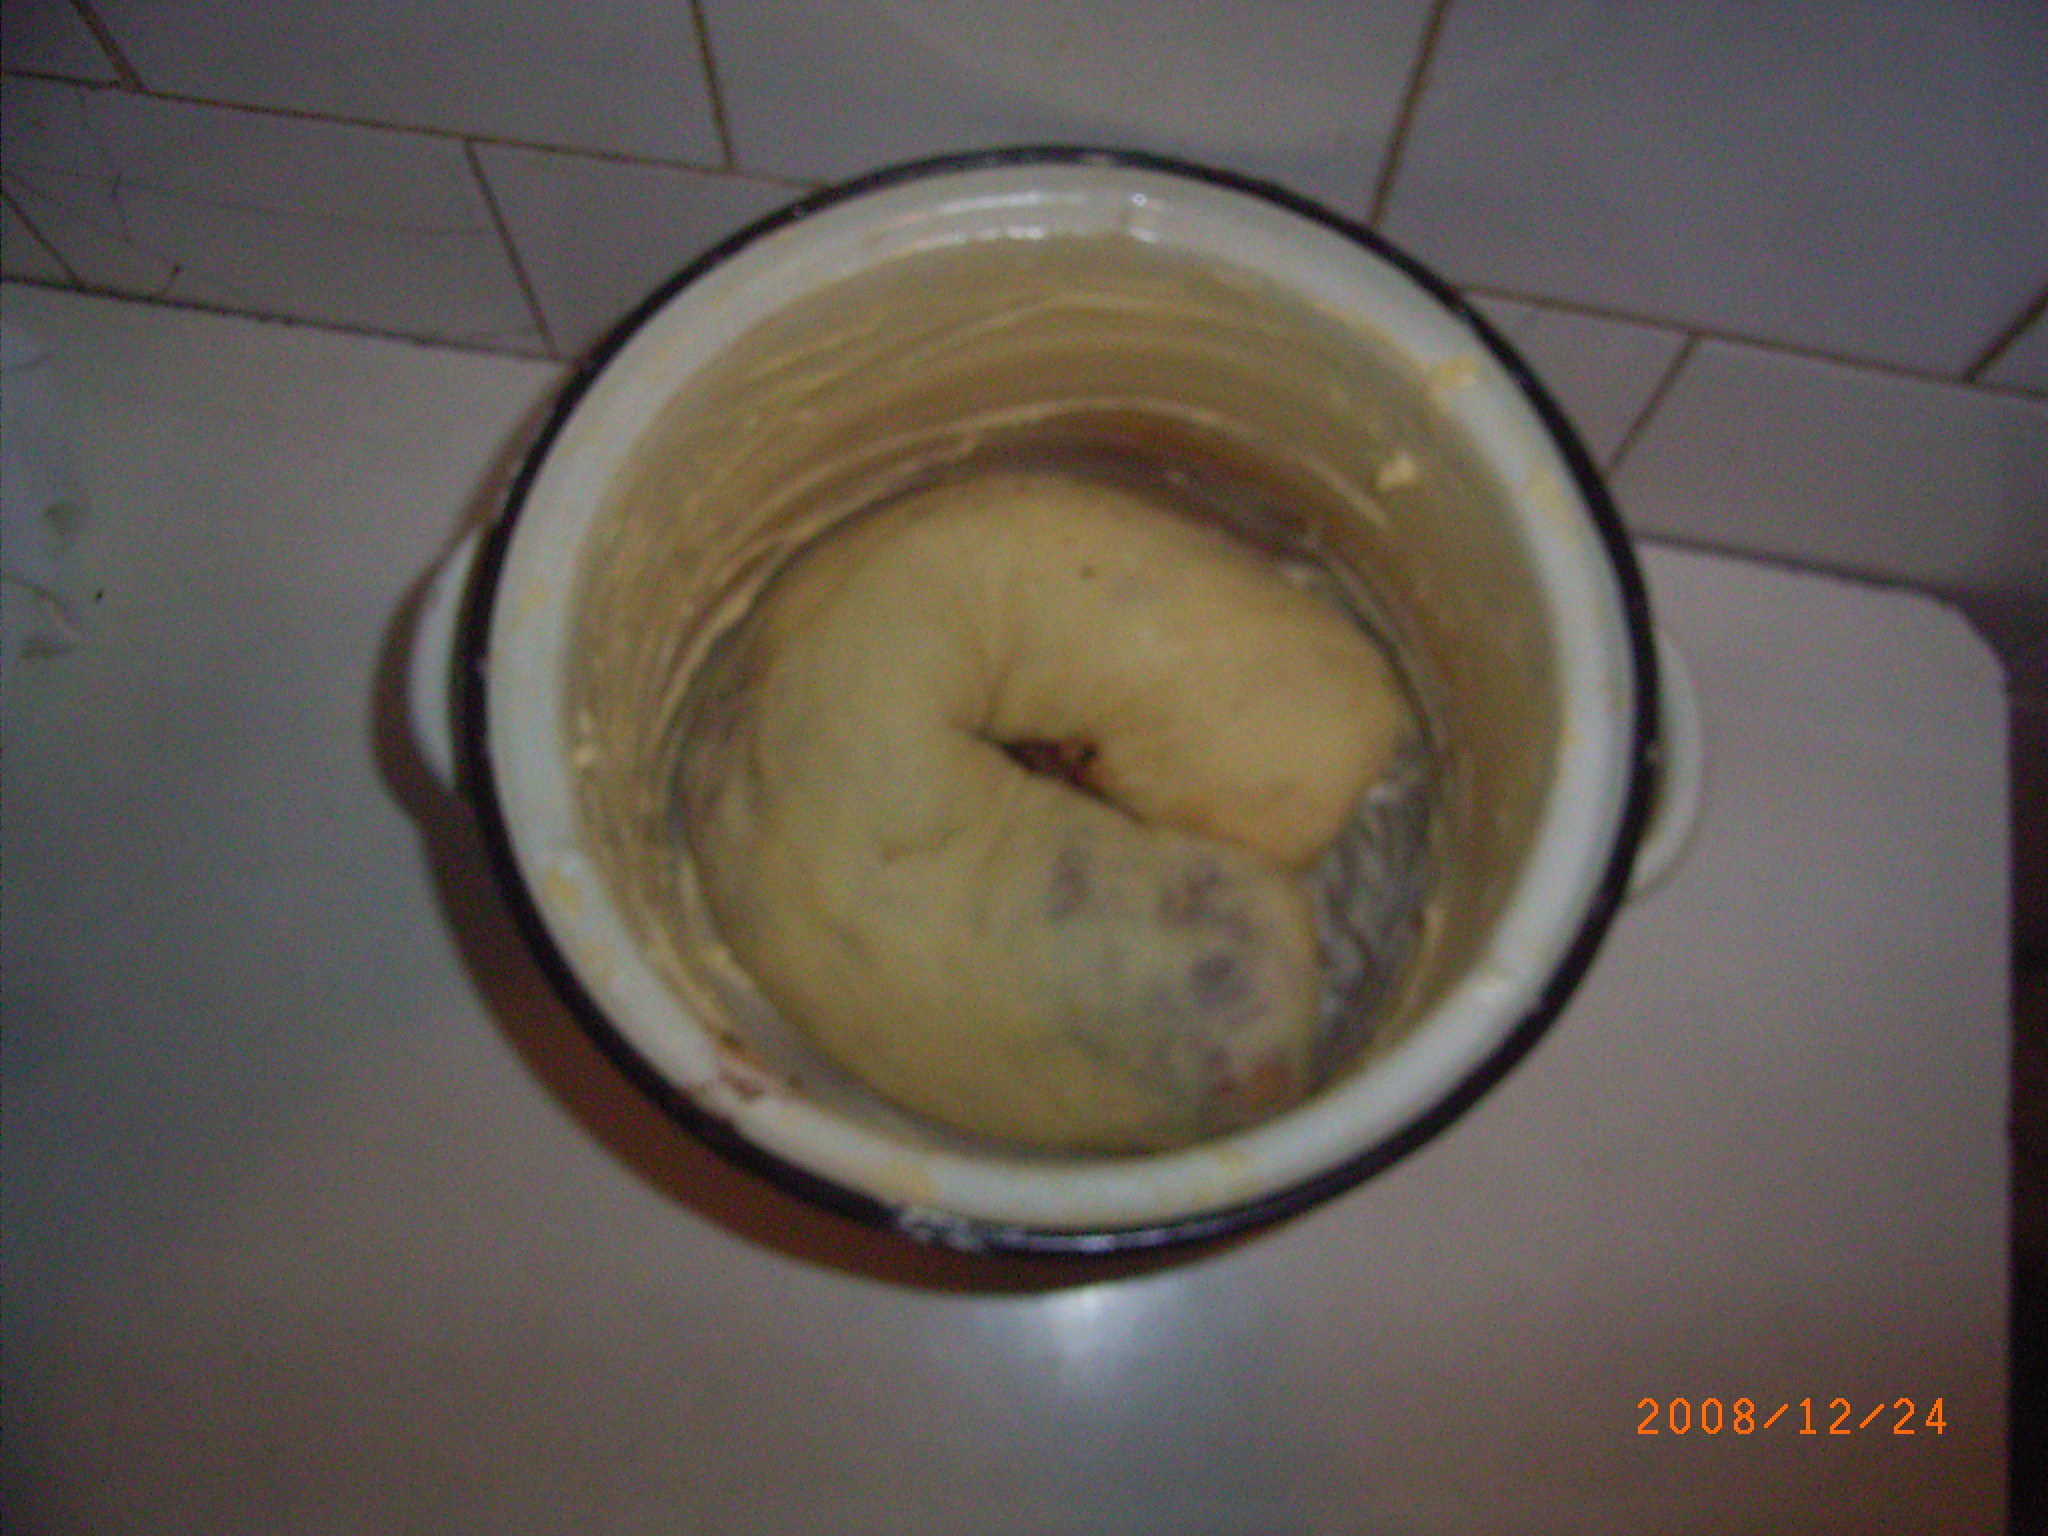
We grease the dish we are going to use with margarine or fat (K4/5), and we place in it the dough, which we bend into a circular form to fit well into the dish. We mix the remaining egg-white (K2/3) a little bit, but not too much. It doesn't have to become creamy. We smear this on the top of the dough, after which we leave the dough to rest for 15-20 minutes before we put it into the oven.
Cooking
The oven needs to be preheated. After the dough has rested, we put it into the oven, and in the corner we add a mug of water, for it to steam. The complete cooking time is approximately one hour, but you need to keep a close eye on it, and make sure that it is not overburning. For the first 20 minutes of the complete cooking time the oven must be at a higher setting, which should be lowered a little after the first 20 minutes pass.